About Me

Saturday, November 29, 2014

Christmas Shoes

Yesterday, I started making some shoe decorations...I used two different colours, the darker colour goes at the back to create depth.
This time, I got out the sewing machine, to save time. I didn't need to put padding inside, as the felt was already thick.
The embroidery and sequins were put on first. I was inspired by images of vintage shoes. They are hand made, as you can see (they are not perfect)... they were made with love.

Wednesday, November 26, 2014

Christmas Therapy 2

This time we are sewing these...they only take 10 minutes to make.
The other day, while waiting at the dentist, I found this design for a Reindeer, in a magazine. I sketched it in my diary and then drew it larger on some white paper, when I got home.

You will need all of these...to make the reindeer.
Pin the cut-out paper Reindeer on to the brown felt (2 layers), and cut out 2, pin them together...
Select some coloured embroidery thread (I didn't have brown, so I used green), and thread up your needle. It's time to start sewing...
Start sewing, start from his belly...use "Running stitch" - - - - - - - it's simple and easy.
Sew all around, leaving an opening under neath. Then stuff small bits of cotton wool inside. A small paint brush will help you, to push the cotton inside, into his antlers.

Finish the sewing.
Use a small bit of green felt and a bell, to make a collar for the Reindeer.
Sew red embroidery thread, for his nose and for a loop on top. Now he's ready to hang on the tree...
Here he is on the tree, the boys love him, and even the cat loves him...
Last year I made angels... (in all different colours),
and stars, the boys even helped.

Friday, November 14, 2014

Christmas Art Therapy

It's been a long time between blog posts... But I've been distracted. But, I've started the Christmas decorations a bit earlier this year... Christmas has a habit of creeping up on me!

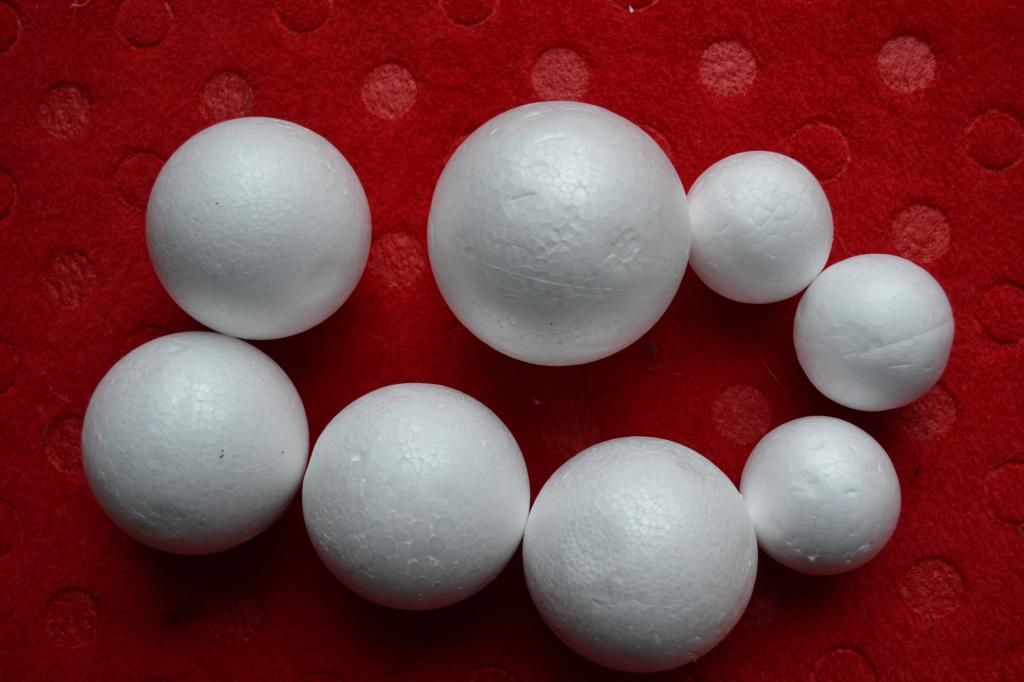
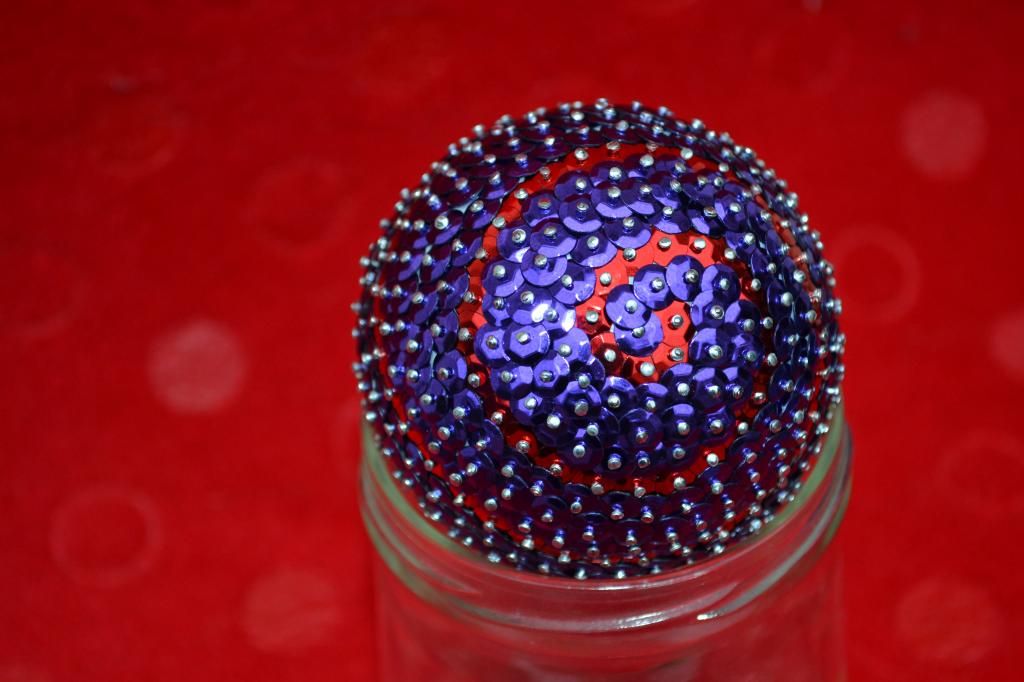
The process is very easy. First you need a polystyrene ball. A size that will work for you. (I have found that the larger balls get very heavy and don't go on the tree very well, but they make great table decorations). The medium ones, take 2-3 hours.
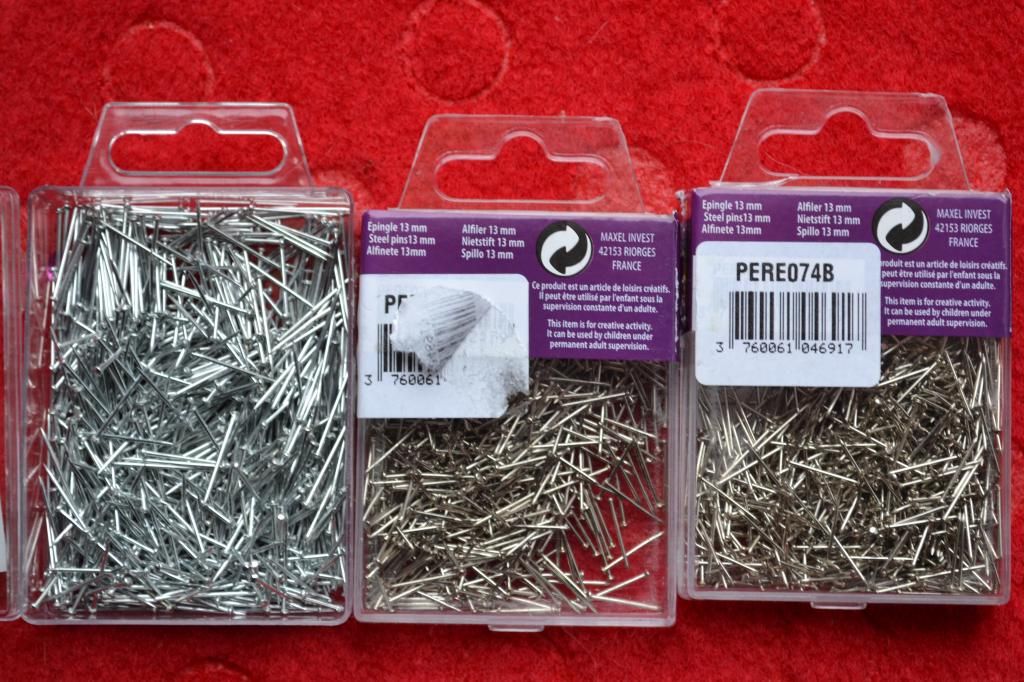
You need lots of pins, I have large and small ones. The medium balls, take about 2 packets of pins (50g) to finish.
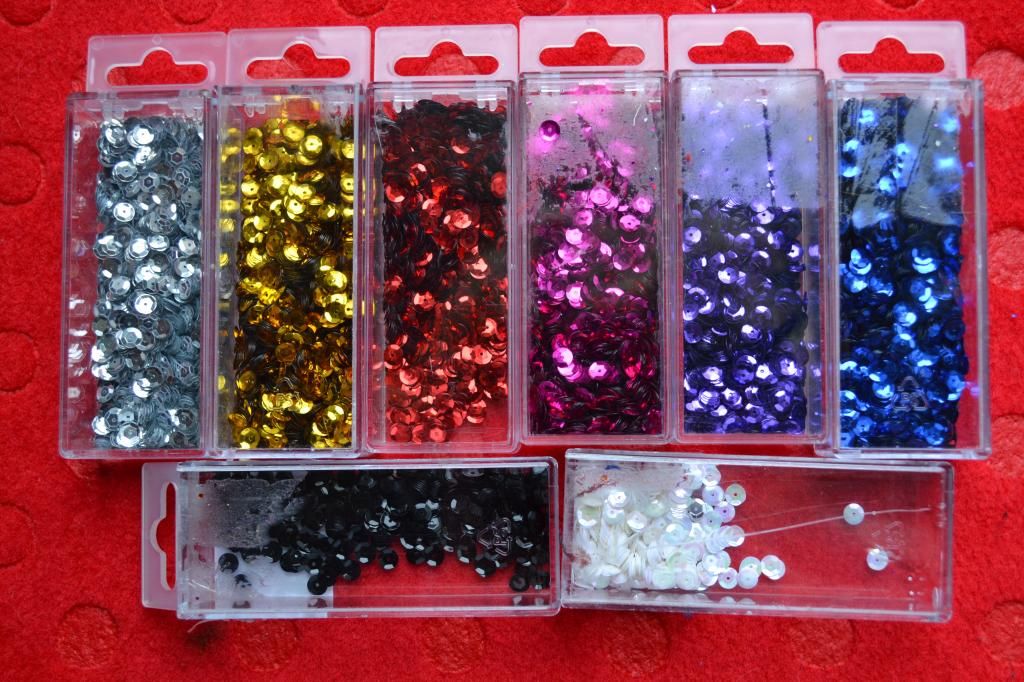
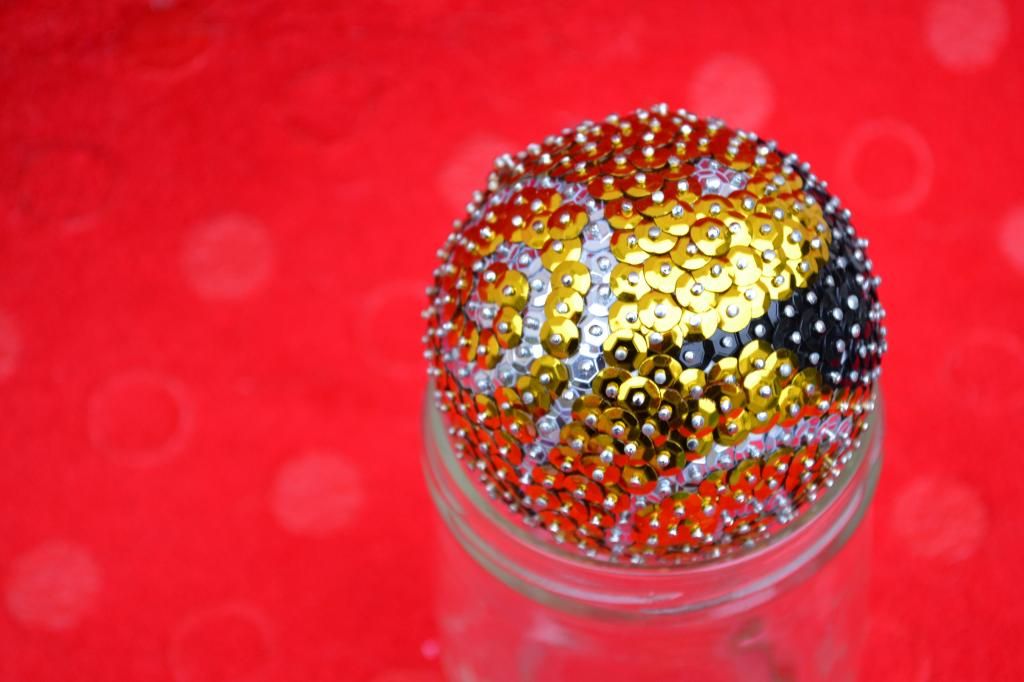
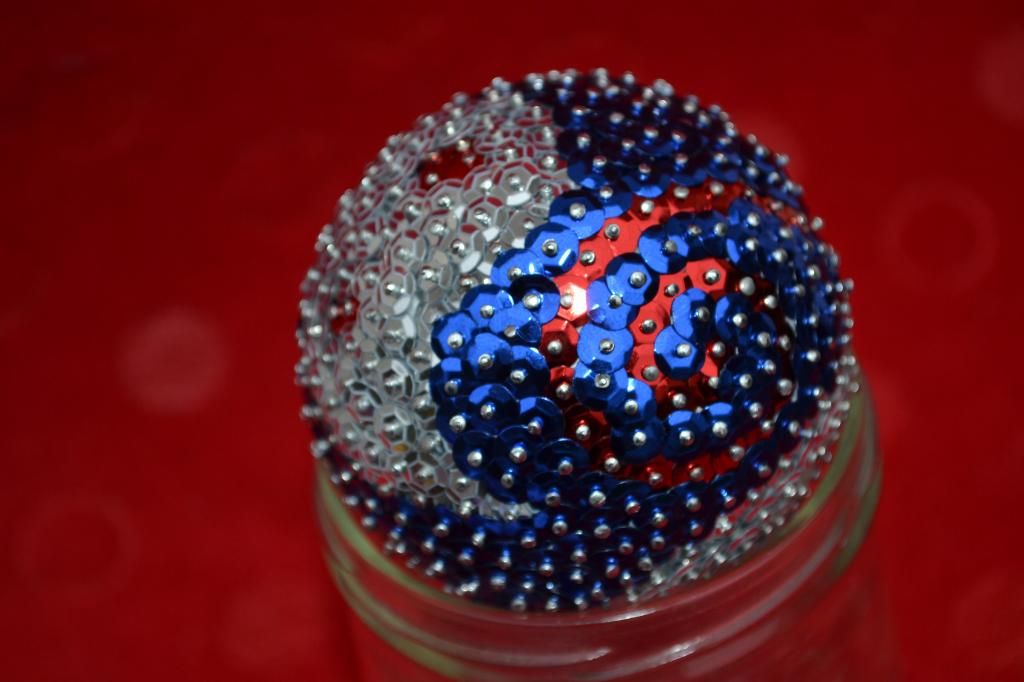
You also need lots of sequins... I use 3-4 colours on each ball. Check the brand of sequins. before you buy up big. Sometimes the holes in the sequins are bigger than the pin heads. To compensate this problem, you can add a glass bead to the pin, to make the size bigger and for some added texture and variety.
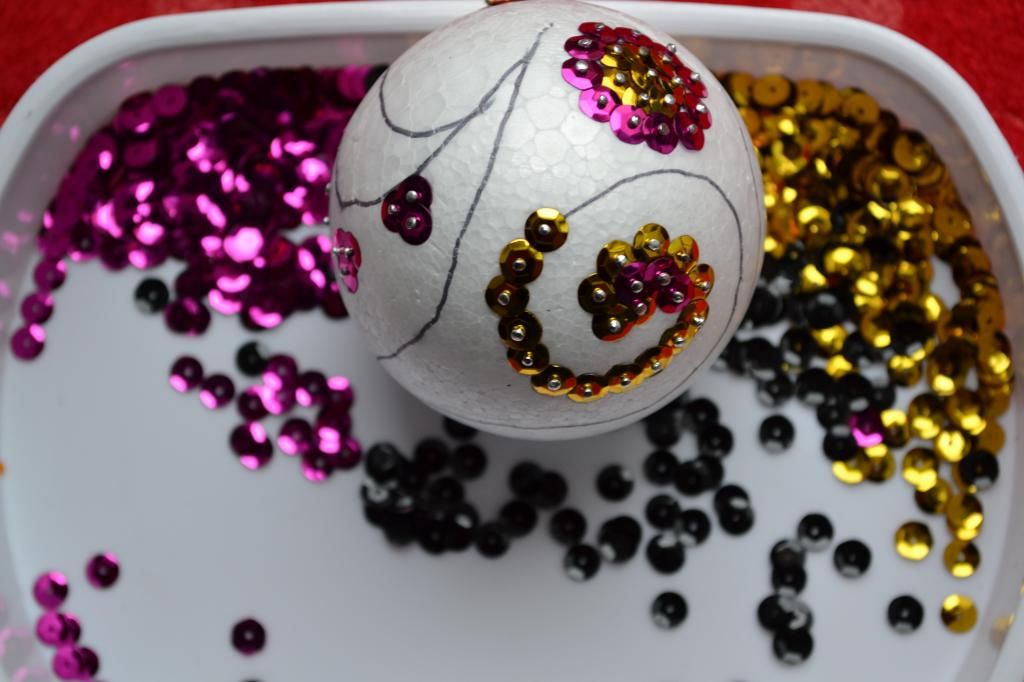
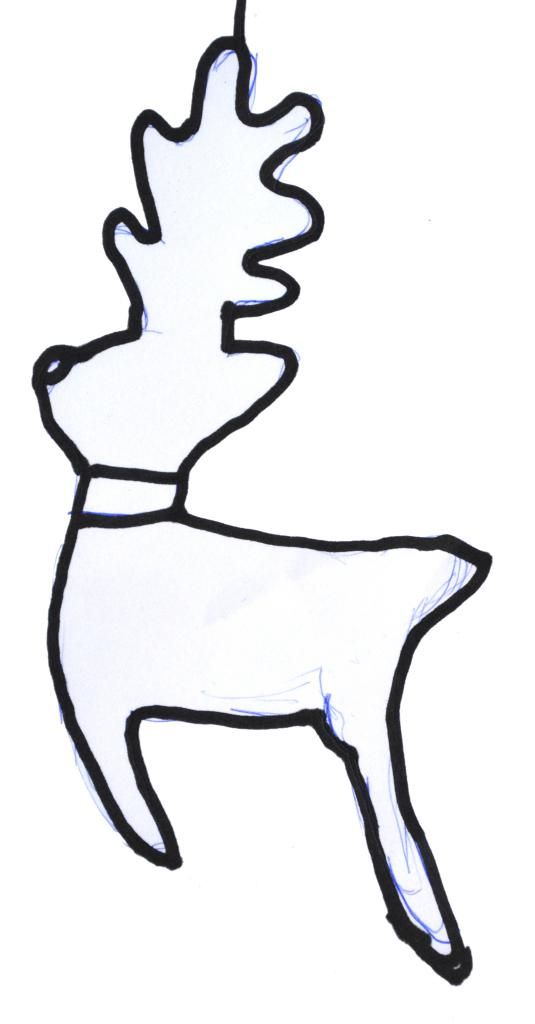
Using a pen, draw up the design. It will be covered by the sequins and pins, so don't worry if you make a mistake. Then it's time to add the pin into the sequin, pushing it into the ball.
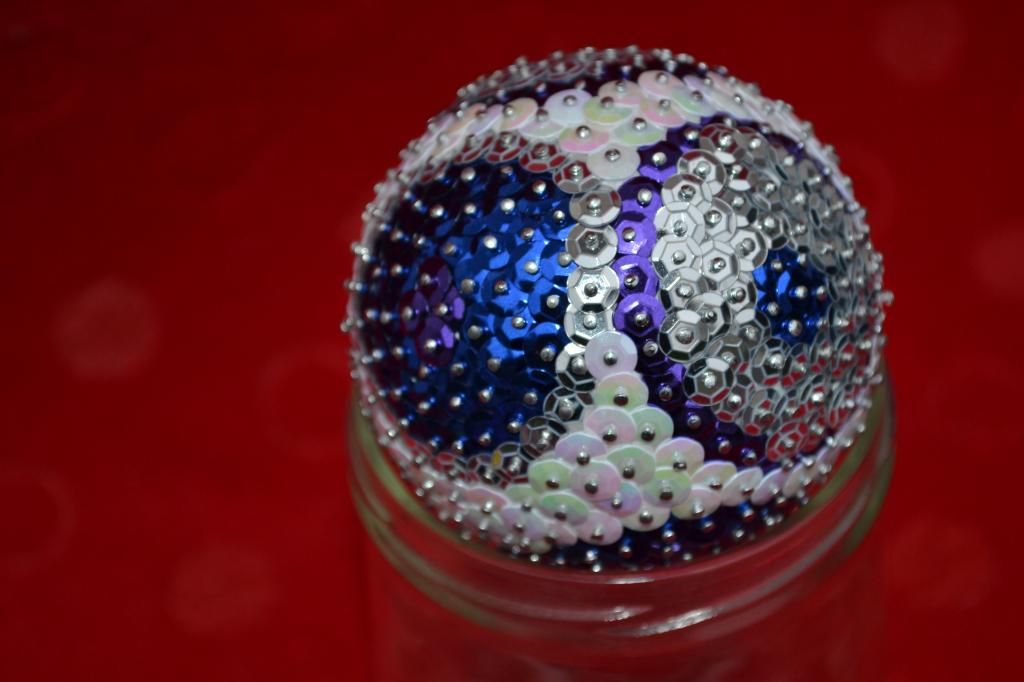
Here are some finished ones...
Later, I add a fishing line to the ball, wrapping the fishing line around one pin and using 4 other pins to secure it, to the ball. Now it's ready for the tree!
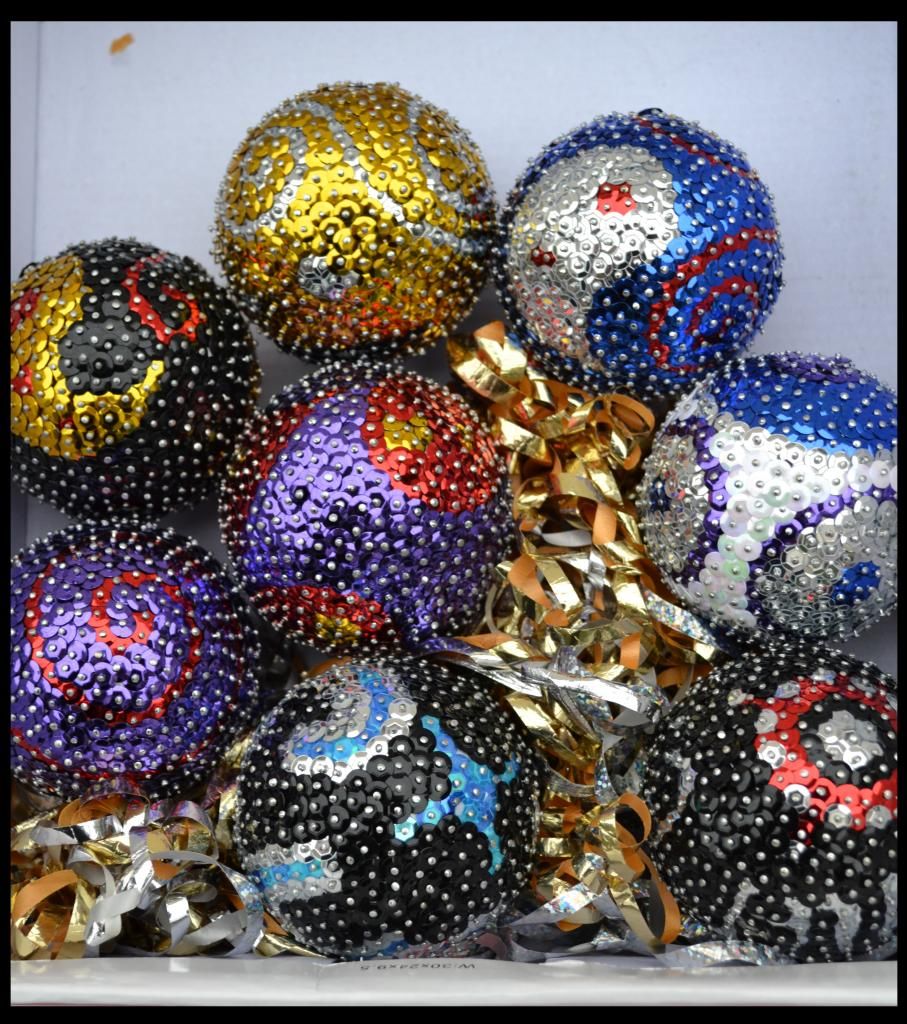
A box of finished ones... I pin, while watching TV and in between household jobs and kids. They make great gifts and you also can put names on the balls, to make them even more special.  Click here to see last year's designs.