
 |
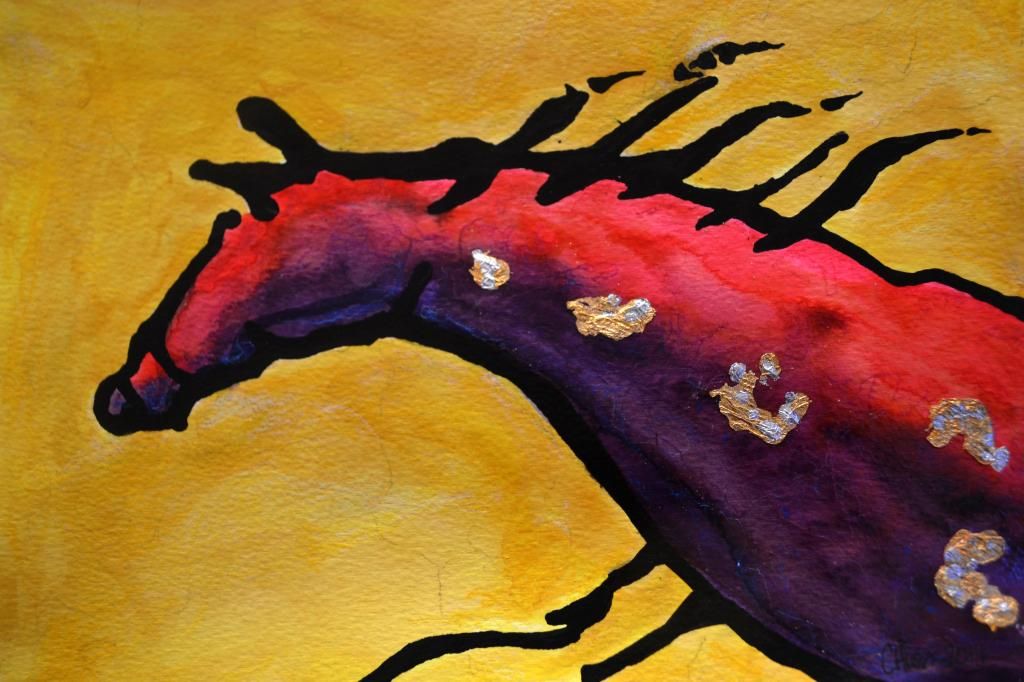
| "Horse no.22". 16 x 23 cm. It was created using black ink, watercolour, imitation gold and silver, Neo-color II crayons, a posca pen and varnish. |

Friday, December 19, 2014
New Horse.

Wednesday, December 10, 2014
New T ones...
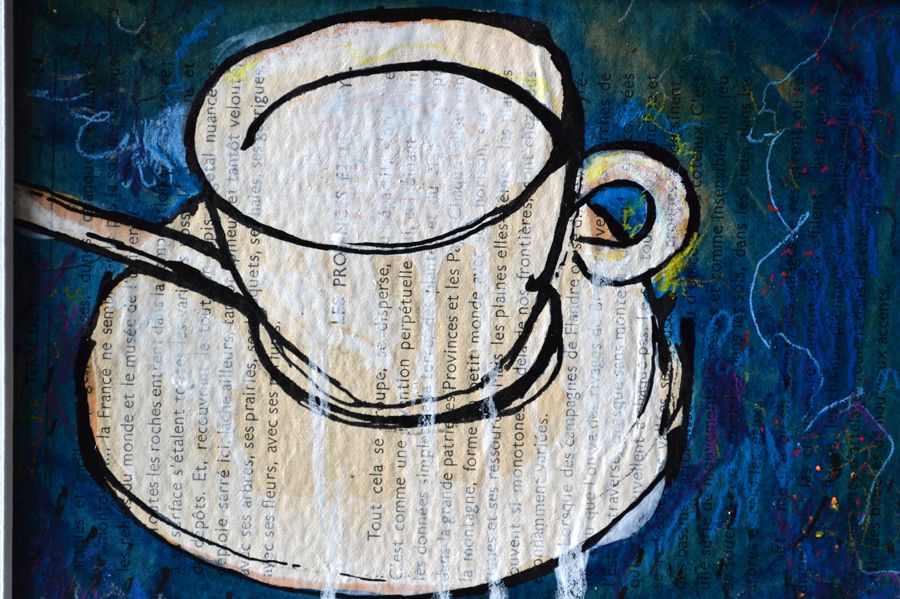 |
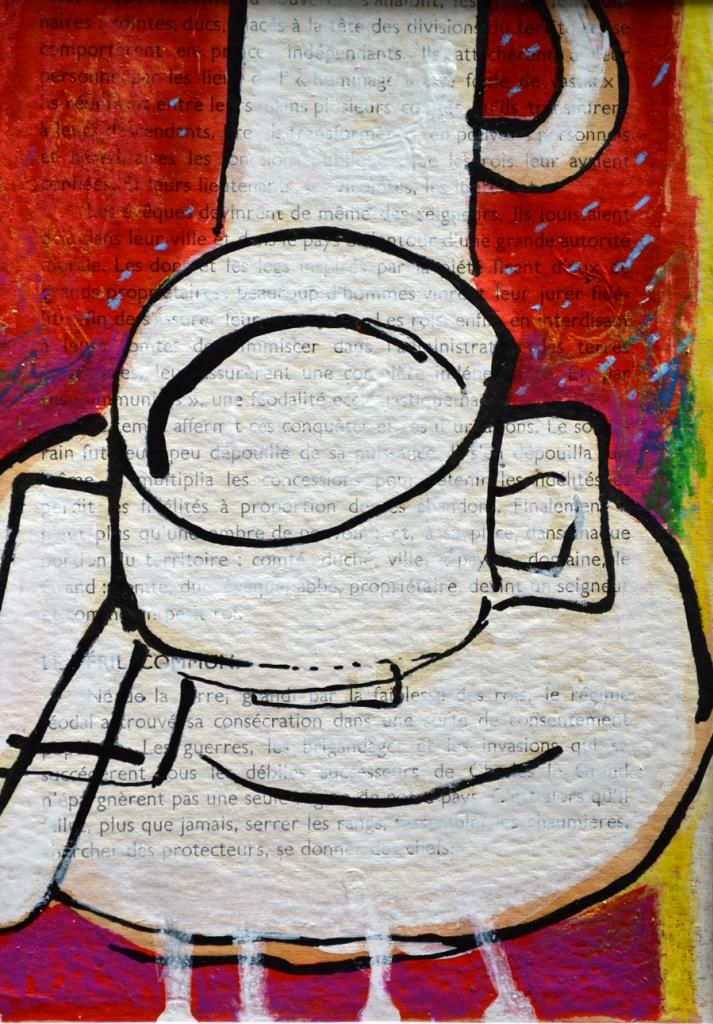
| Tea inspired art works. "Emptea", 18 x 13 cm, Black ink, collage, acrylic paint, Neo-colour II crayons and Posca pens. |
 |
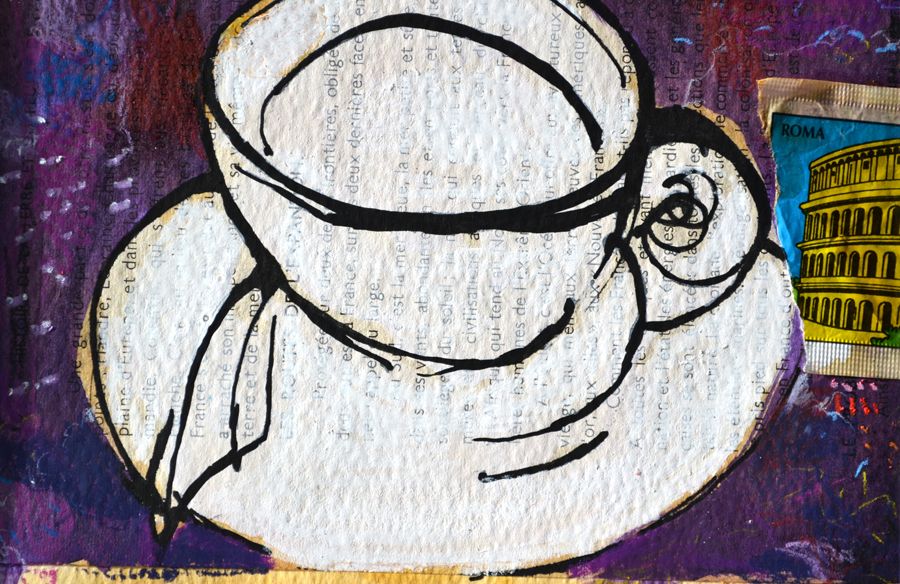
| "Tea 2", 13 x 18 cm, Black ink, acrylic paint, collage, Neo-colour II crayons and Posca pens. |
 |
| "Tea 3", 18 x 13 cm, Black ink, acrylic paint, collage, Neo-colour II crayons and Posca pens. |
Click Here to find them in the ETSY shop!
Monday, December 8, 2014
Magritte Tins in the Supermarket.
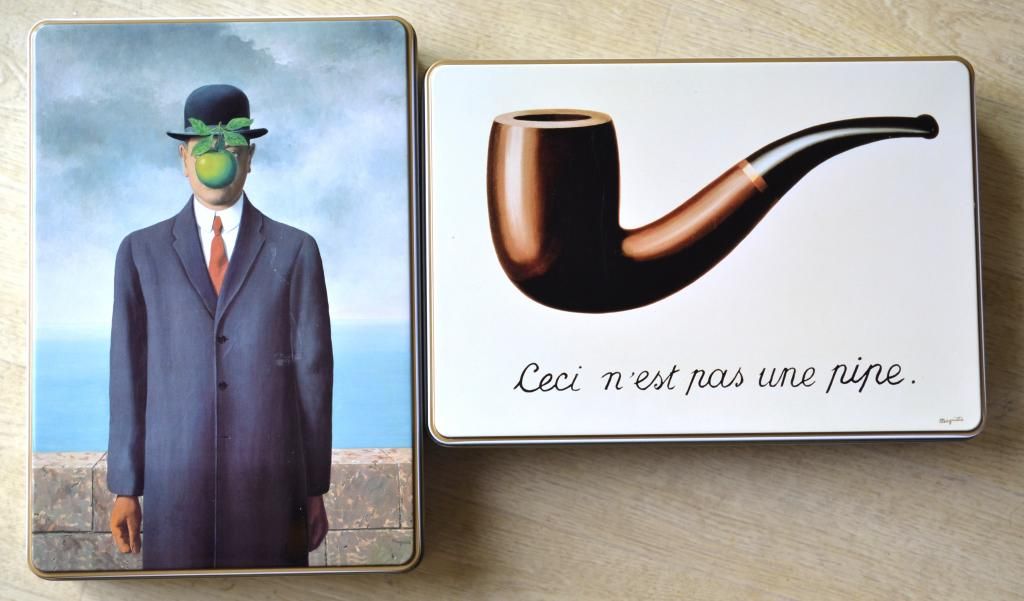 |
| Today, I found these in my local supermarket. Inside are some biscuits from Belgium. What a find... |
Saturday, December 6, 2014
Lino Printed Christmas Cards.
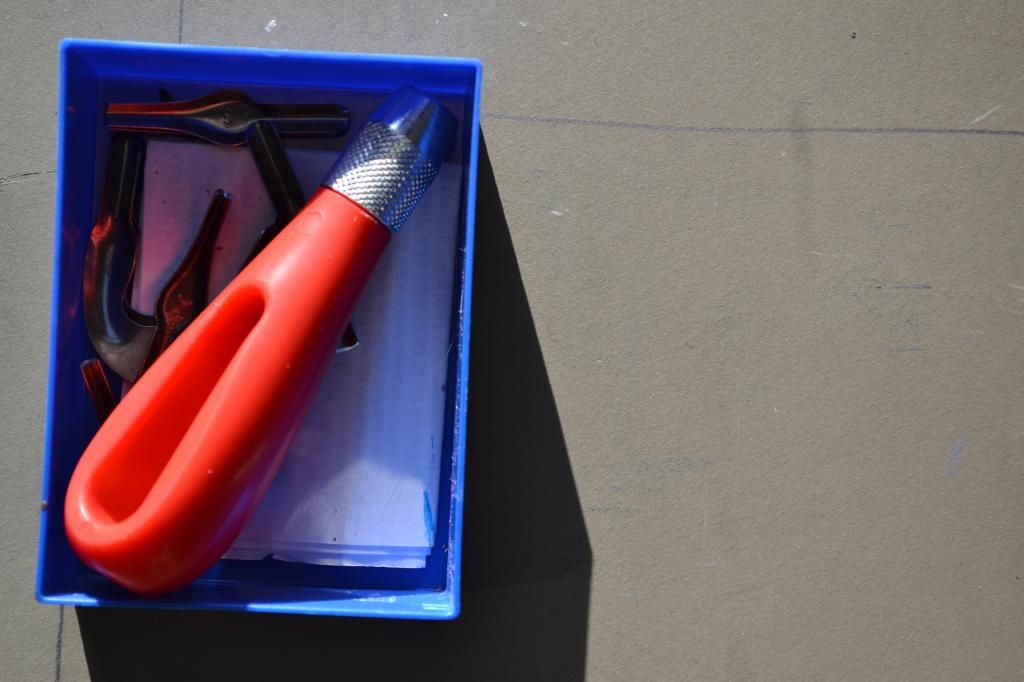 |
| You will need some lino and carving tools. These days the lino is soft like butter to cut, not like 20 years ago. When you had to put lino on the heater to soften. |
 |
| This year, I drew up a Christmas Cat. The size is 10 x 14 cm. |
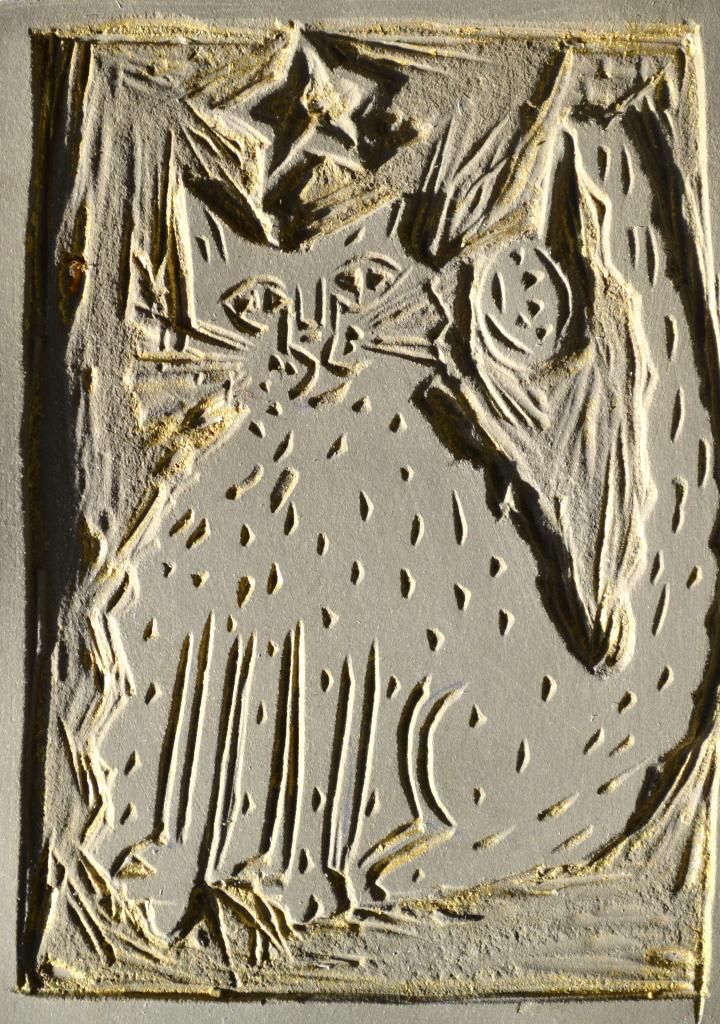 |
| Transfer the drawing onto the Lino. (If you are putting text on the card, remember to draw it up backwards, so when it prints, it will be the right way around). Now you are ready to start cutting. In your lino tool box, you will need to start with the 'V' shaped tool. This one cuts fine lines. Don't rush, but take your time cutting out the details. Then use the 'U' shaped tool, to dig out the larger areas. Don't dig too deep, otherwise you will cut holes in the Lino. ** Please Note: Never cut towards your body or hands, the tools might seem blunt, but they will really hurt you. |
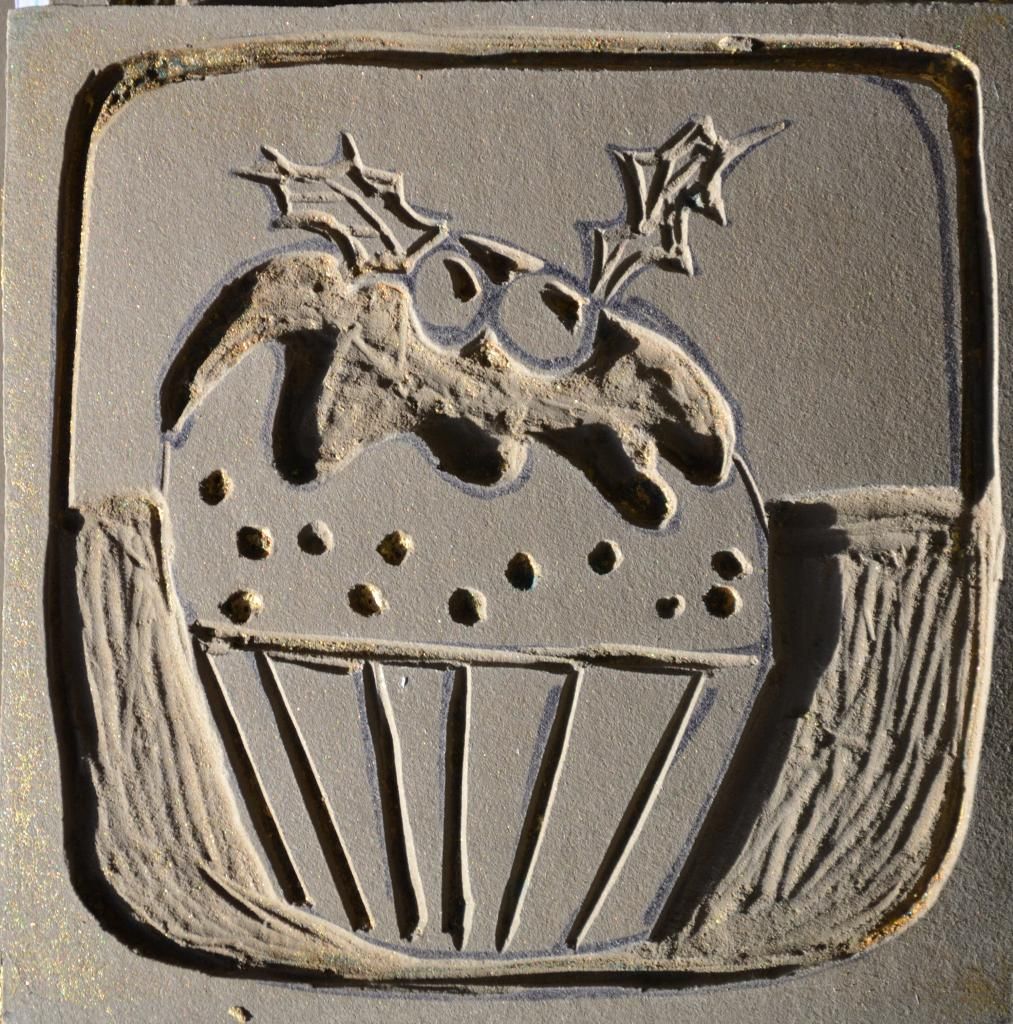 |
| This is a 'Christmas Pudding', that I made a few years ago. You will need to cut about 50% of the lino out. Dust of the scraps and now get ready to print. |
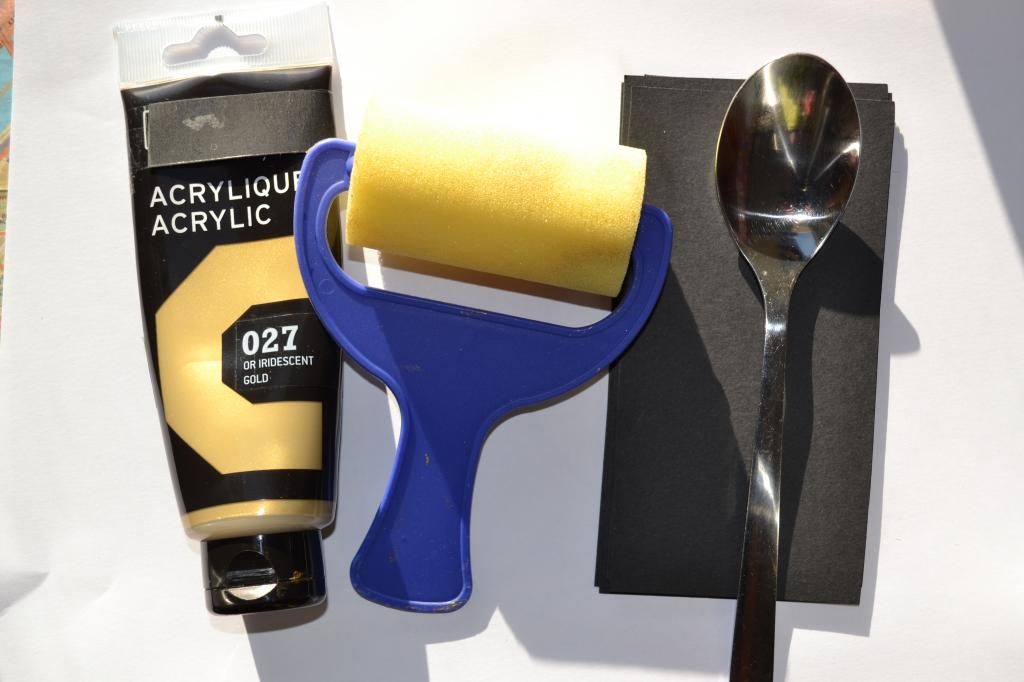 |
| This is not a traditional set up, I use a 'cheap' sponge roller, gold acrylic paint, black paper and a spoon. |
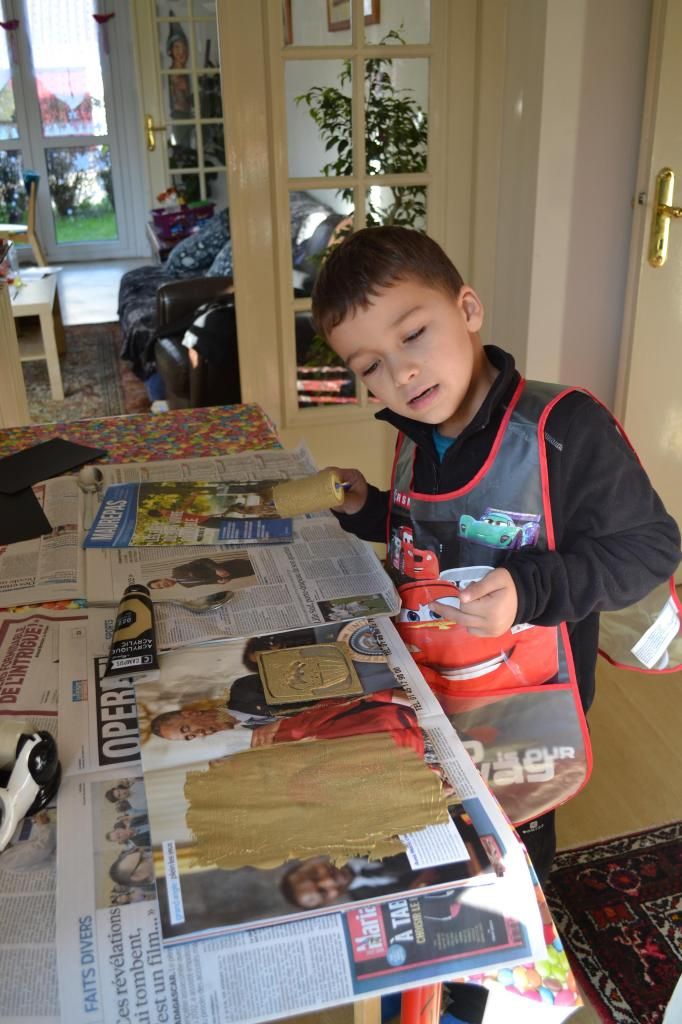 |
| Today, I had two excellent assistants. You need to have two areas, a wet and dry (Clean) area. As you can see, newspaper is also needed. On the wet area, open a magazine to the middle... one side is for the paint and the other side, is to 'ink up the lino'. The paint is rolled out on the magazine, in a up and across motion. You are trying to even out the texture of the paint. Then on the other side of the magazine, place the lino, (cut side up)... roll the paint evenly onto the surface. Don't roll the paint too fast or you will dry out the paint. (if this does happen, just wash the roller or lino and start again). |
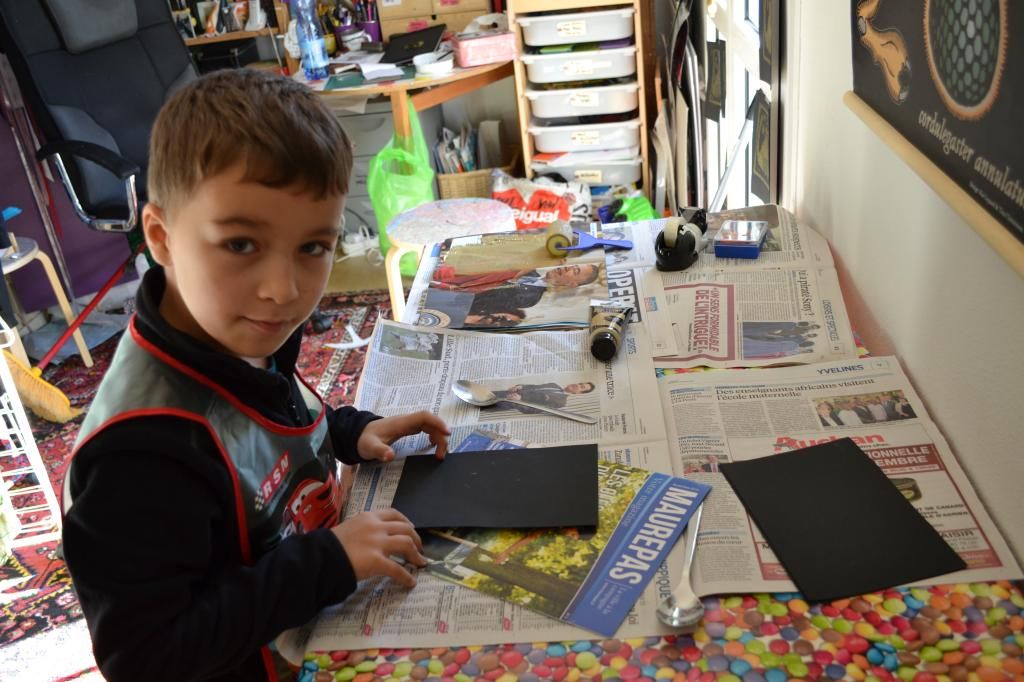 |
| Move the lino to the Dry side of the table. Place the inked up lino, (wet side up) on top of a magazine. Then get your paper and place it on top of the lino. (careful of wet/painted fingers). With the spoon, use the curved side to rub the paper onto the lino, keep hold of it, so it doesn't move. |
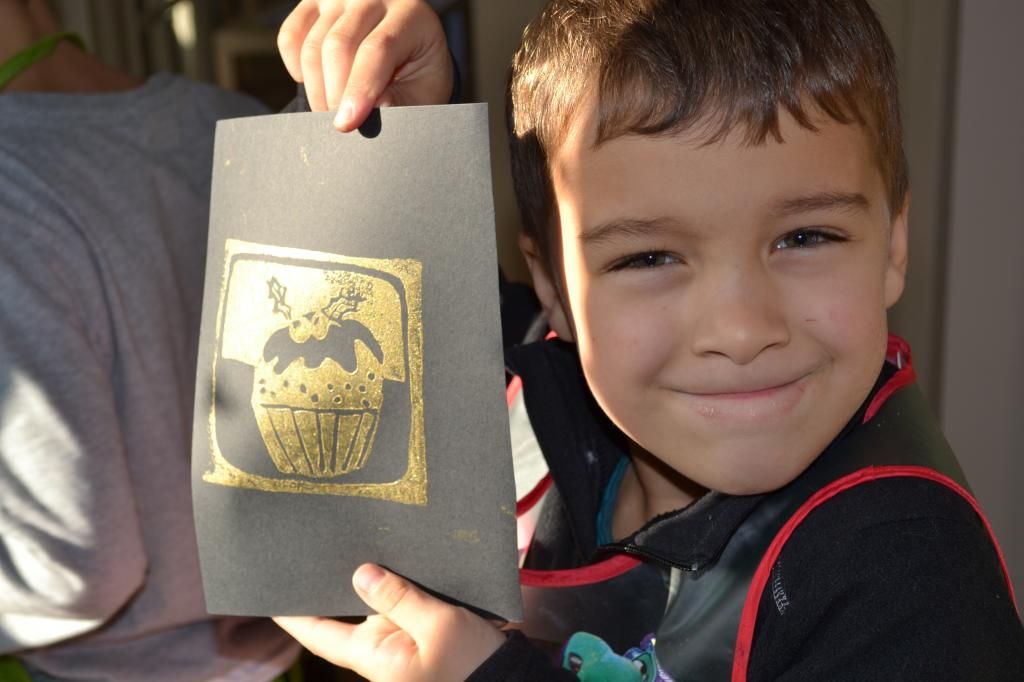 |
| Lift the paper carefully and "voilà"! You have a print. |
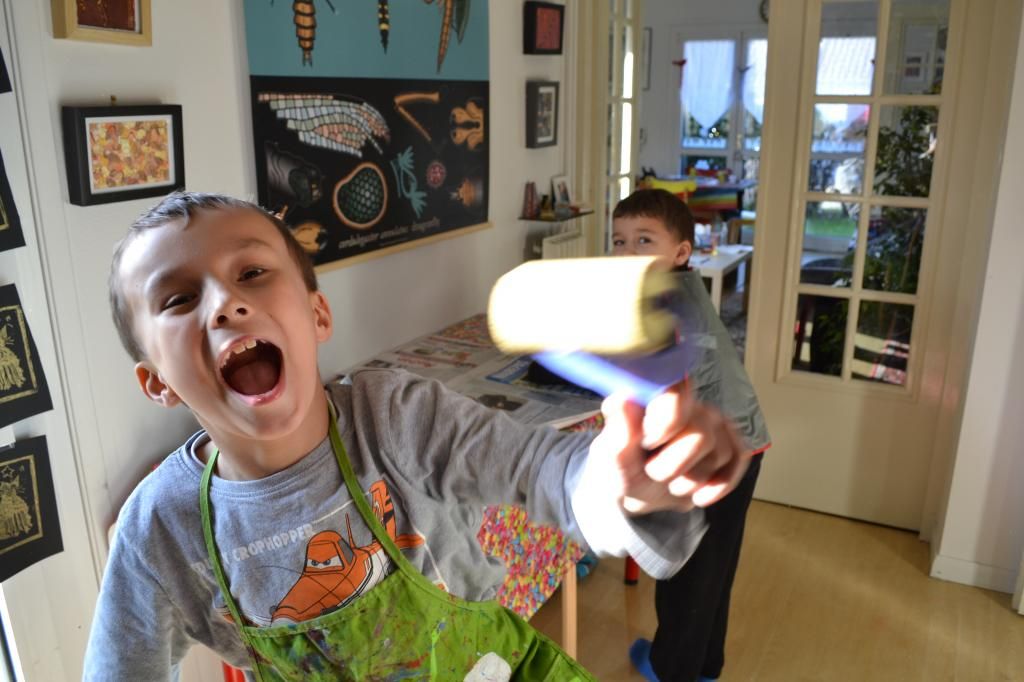 |
| It's important to have a bit of fun too! |
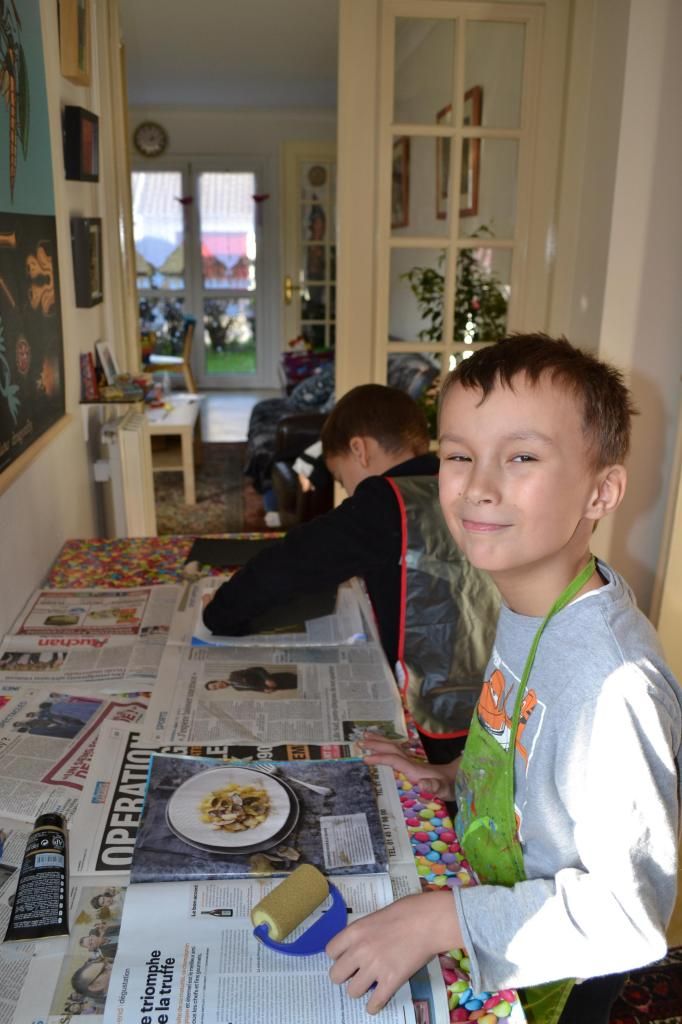 |
| The two boys worked great together... |
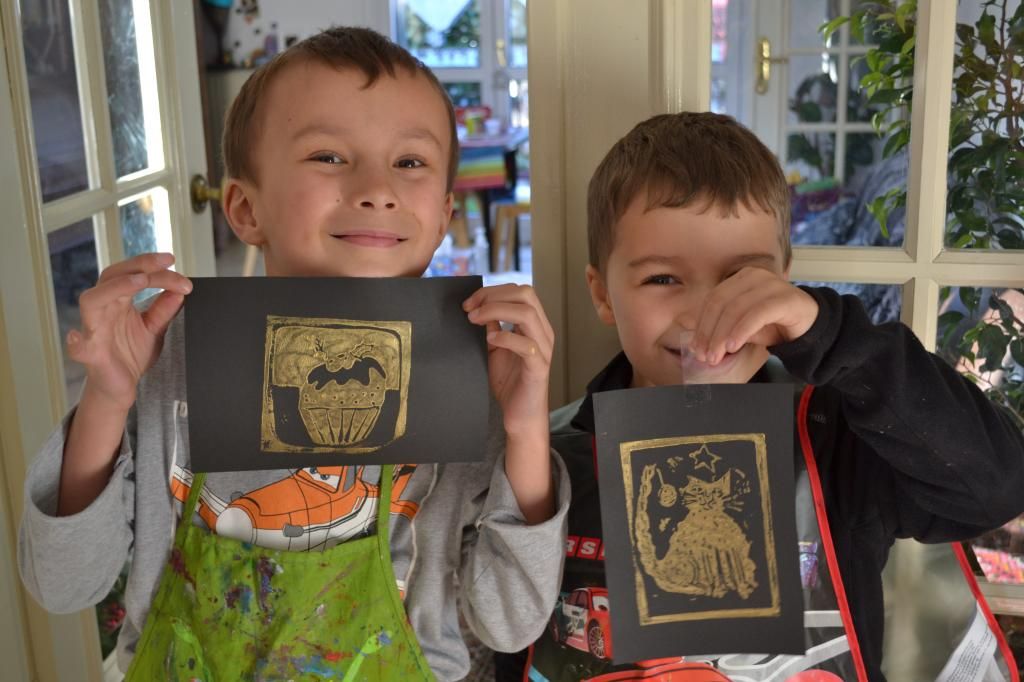 |
| My two assistants did a fabulous job! |
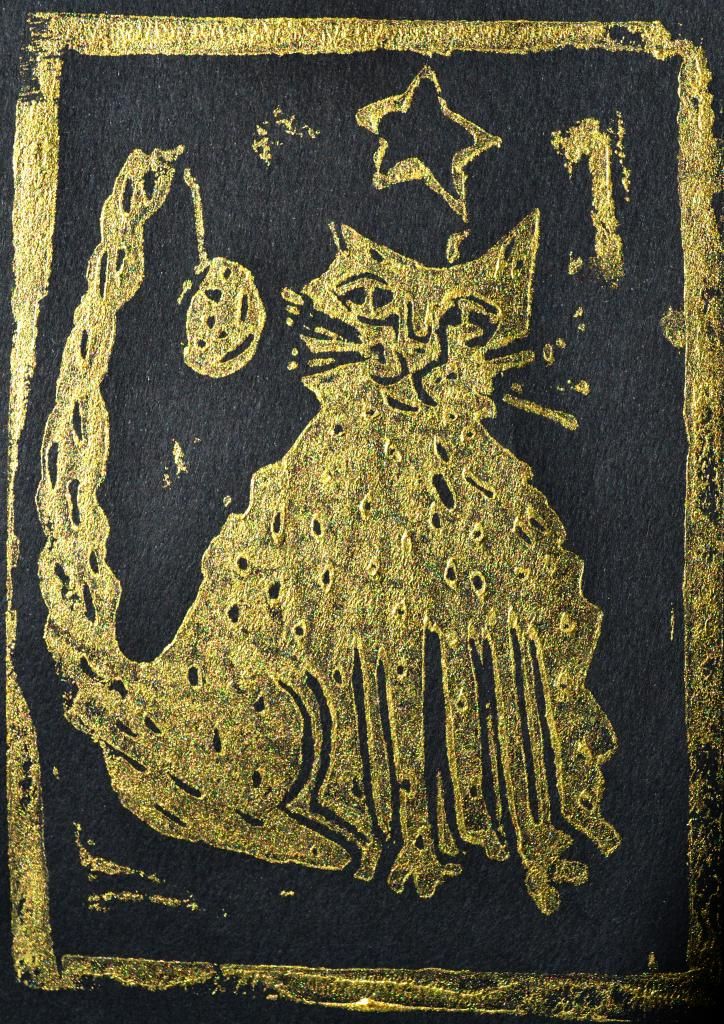 |
| I'm not sure if I like my cat, but you can see how it works. |
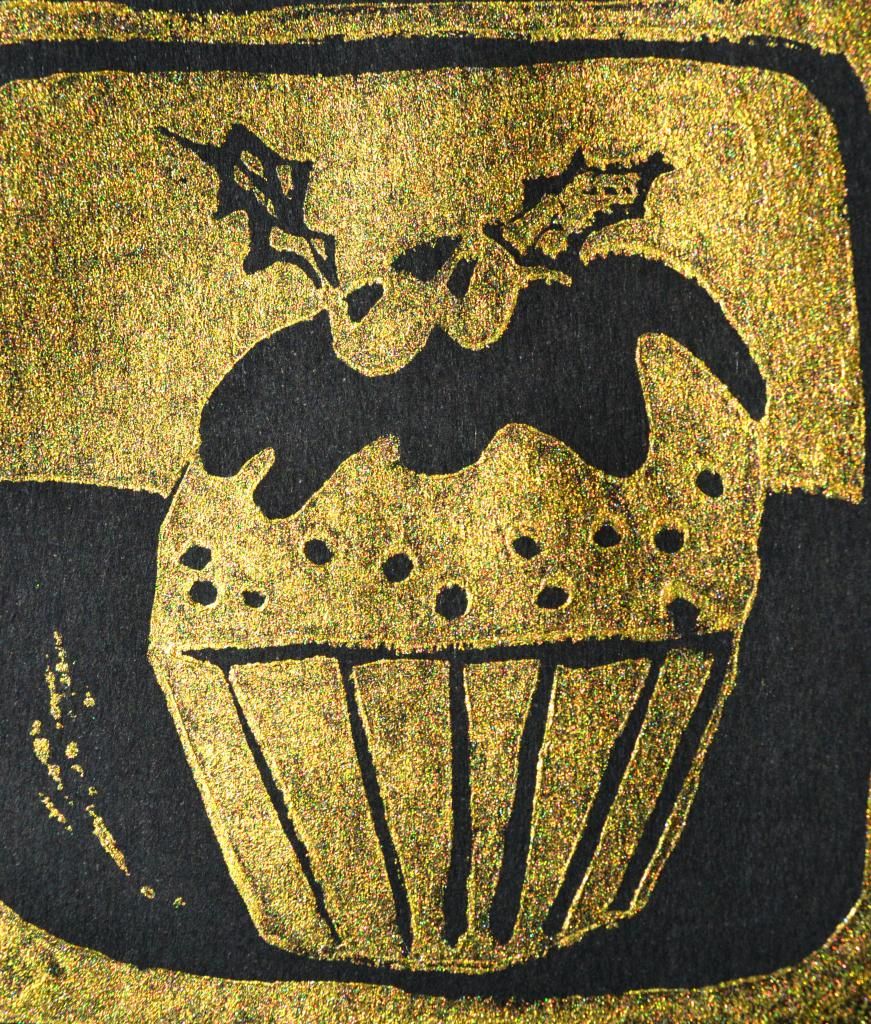 |
| Simple designs come out better... |
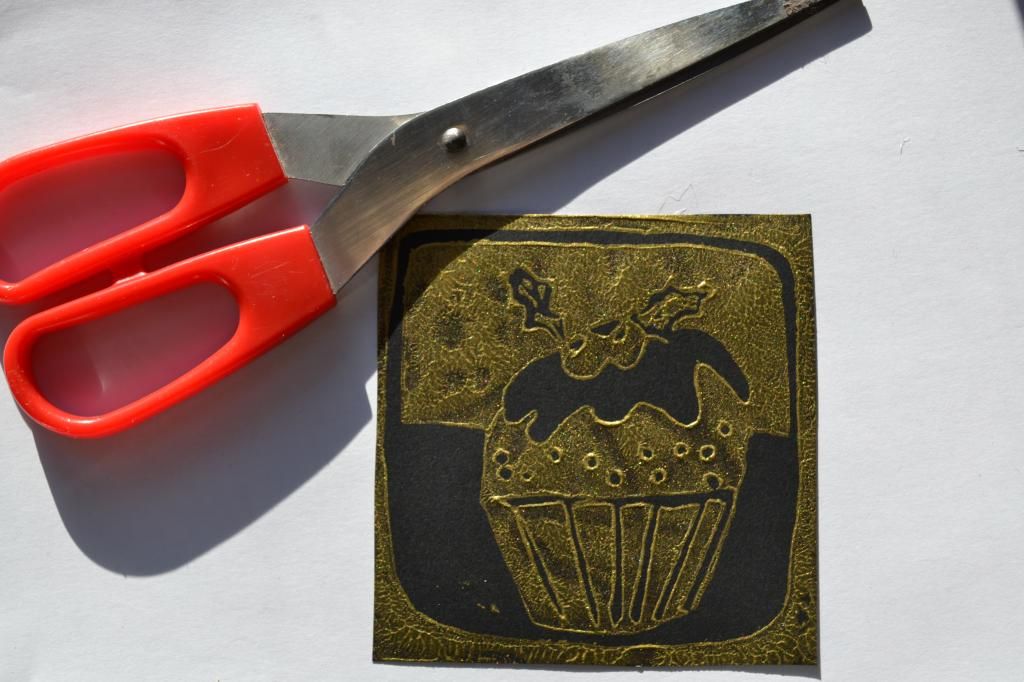 |
| After the print is dry, you can trim the lino print with scissors or metal ruler, cutting knife and mat. |
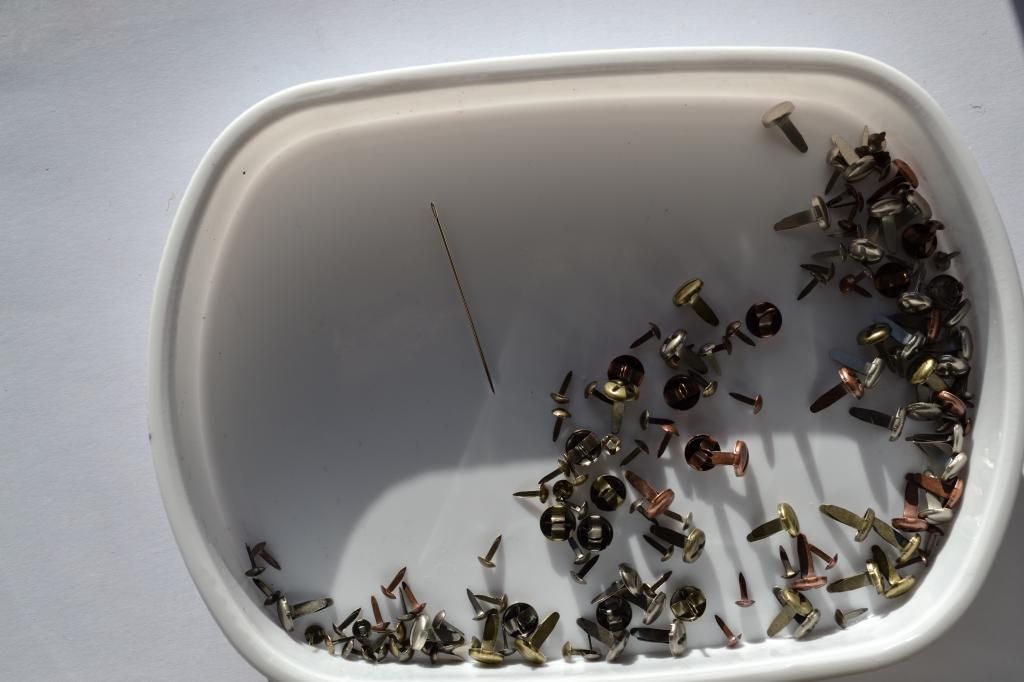 |
| At this stage you will need a needle, split pins, cards, and envelopes. |
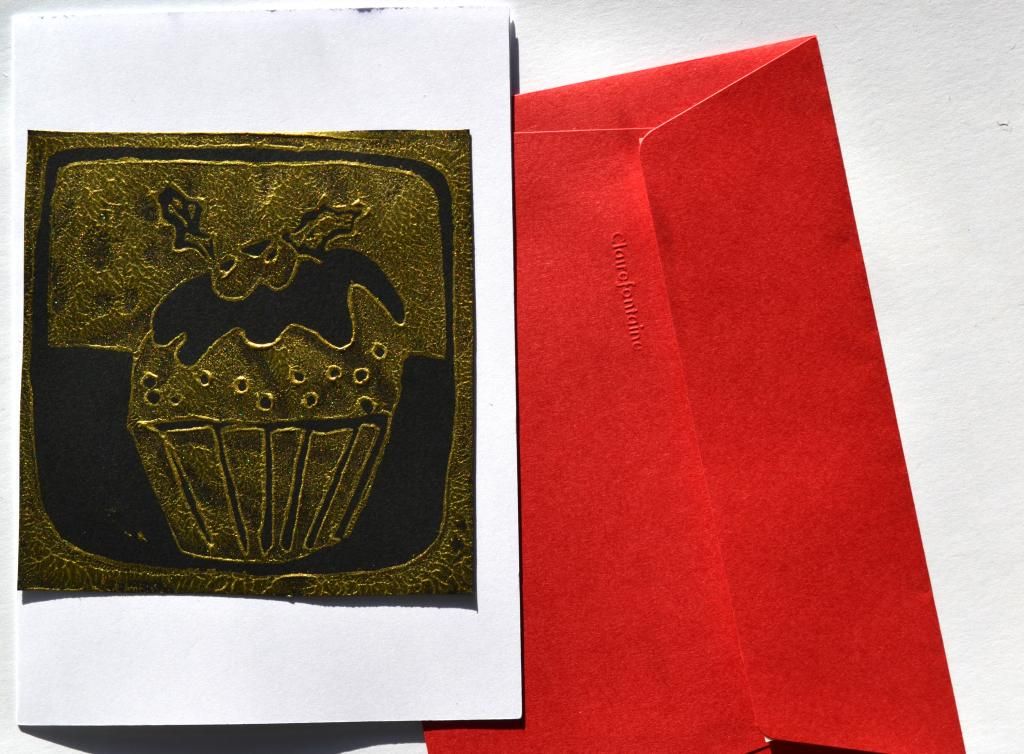 |
| Line up the lino print on the card, and make holes with the needle. Put a split pin in as you go...sometimes the prints move. |
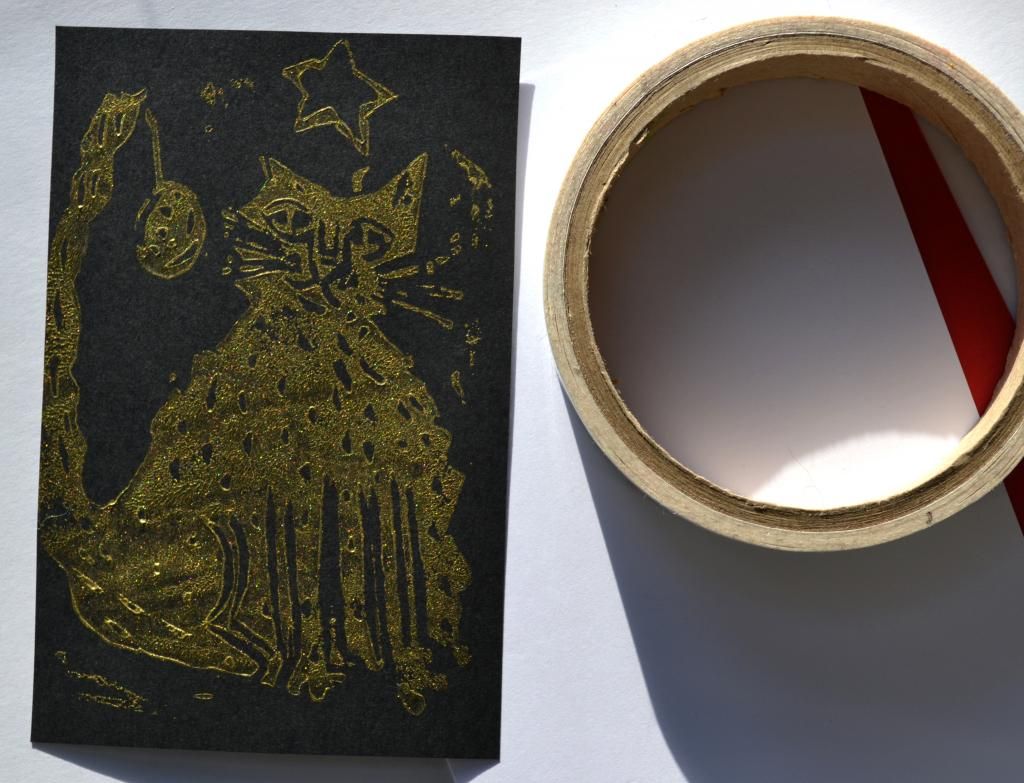 |
| You can also use, double side tape... |
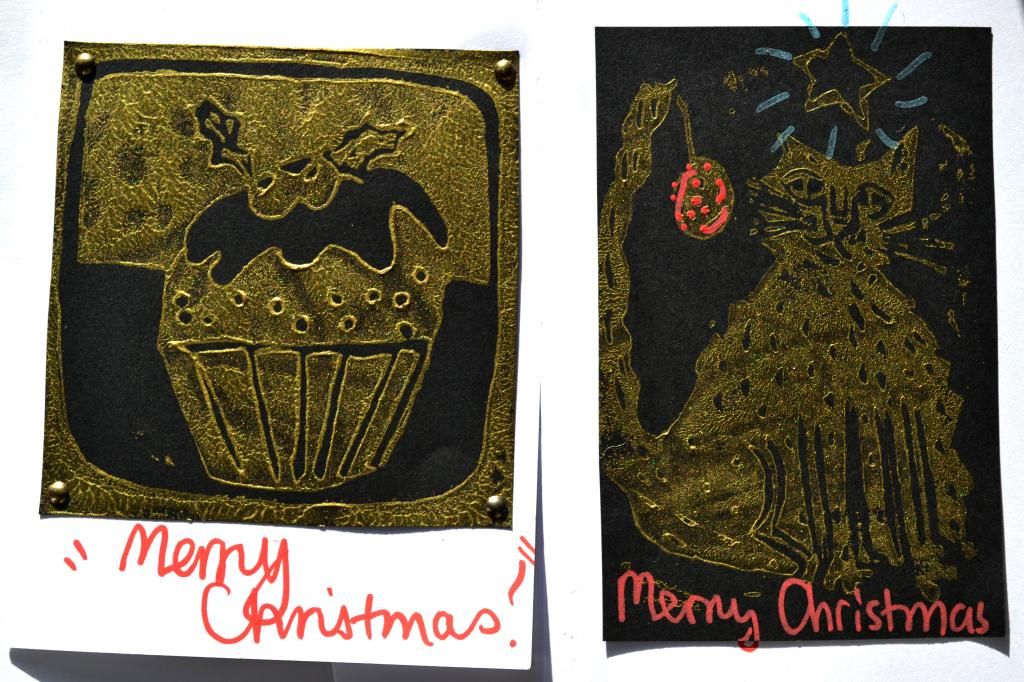 |
| Here they are finished, You can add your own text, or decorate it any way you want. I used a red 'Posca' pen. |
Saturday, November 29, 2014
Christmas Shoes
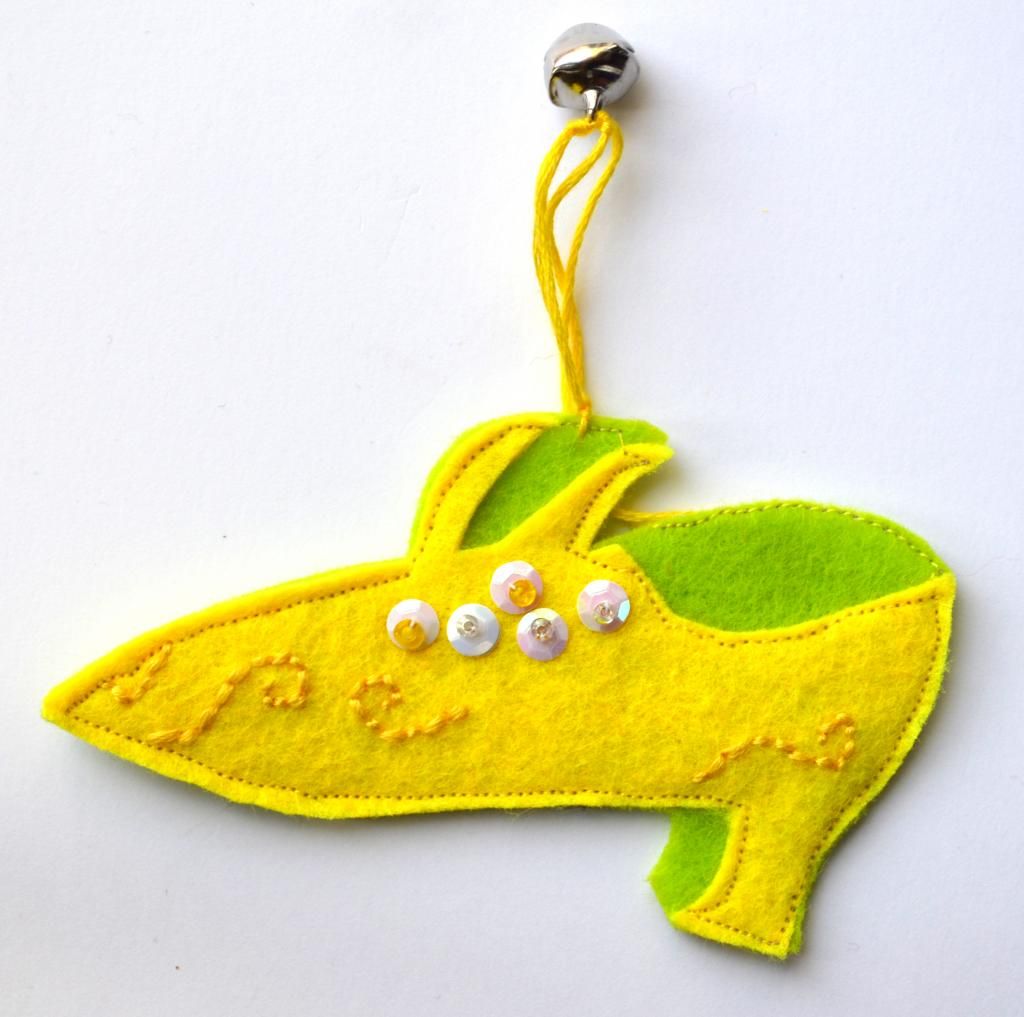 |
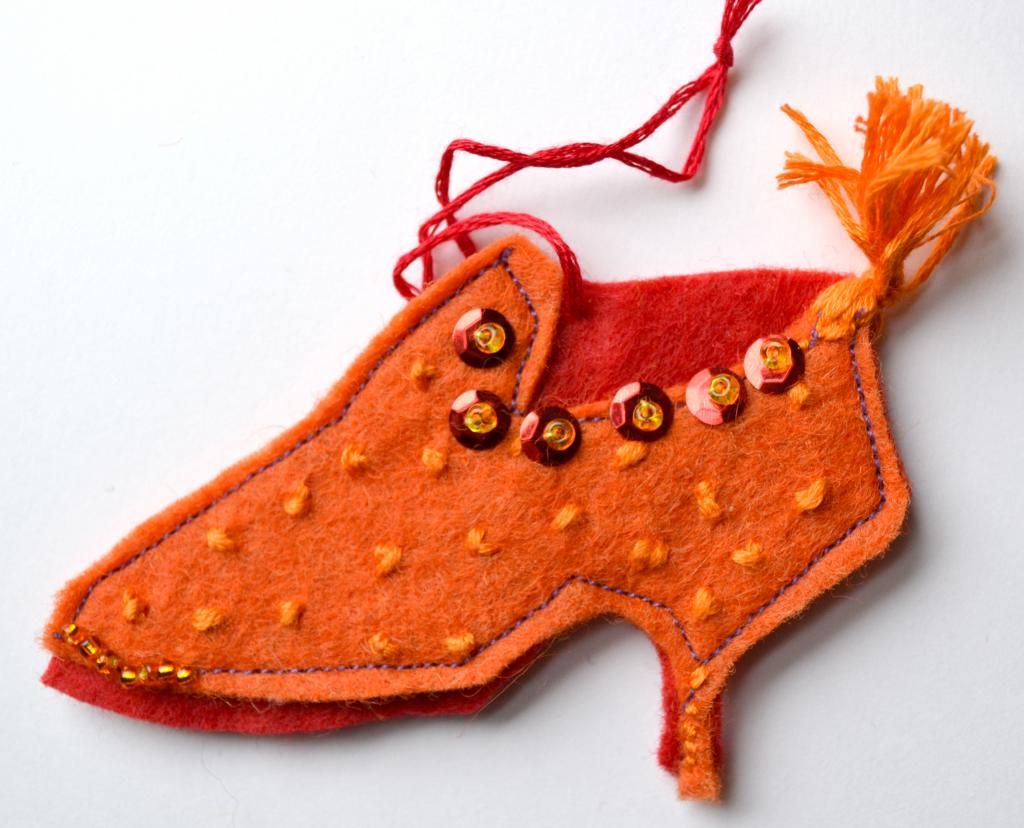
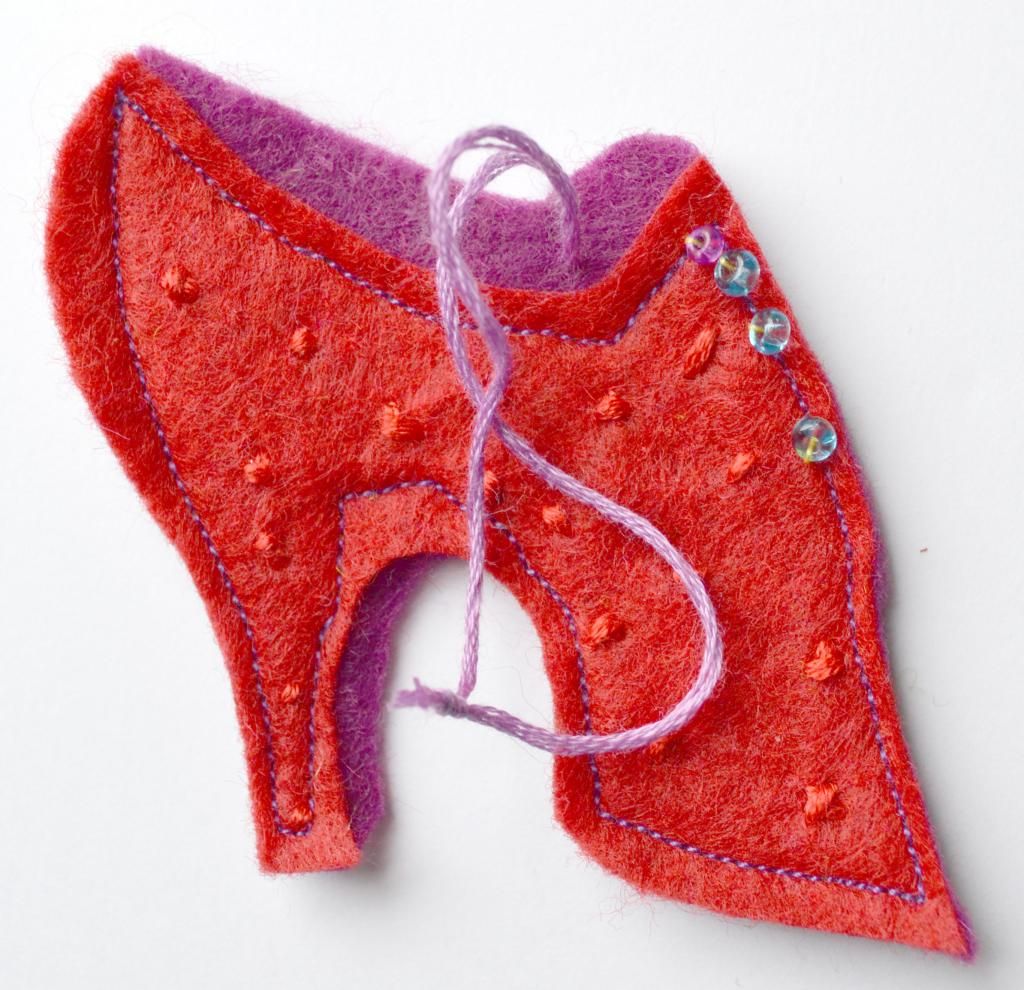
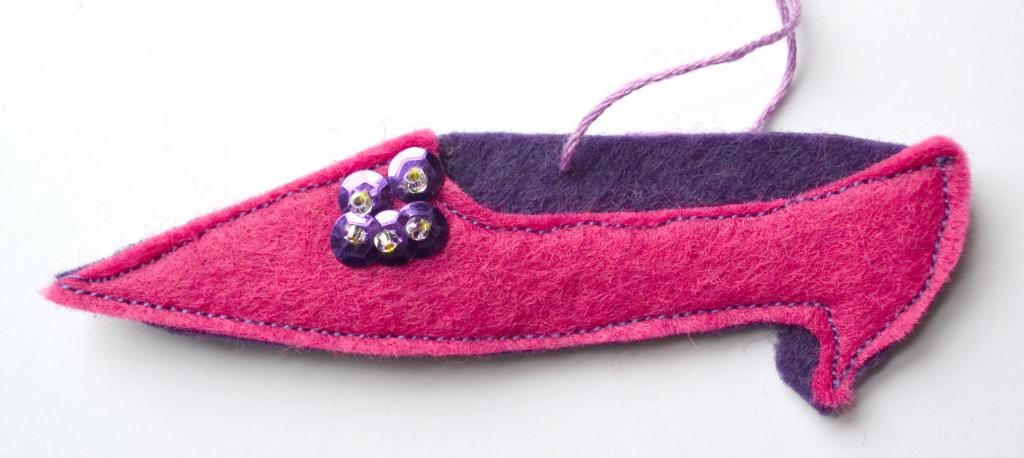
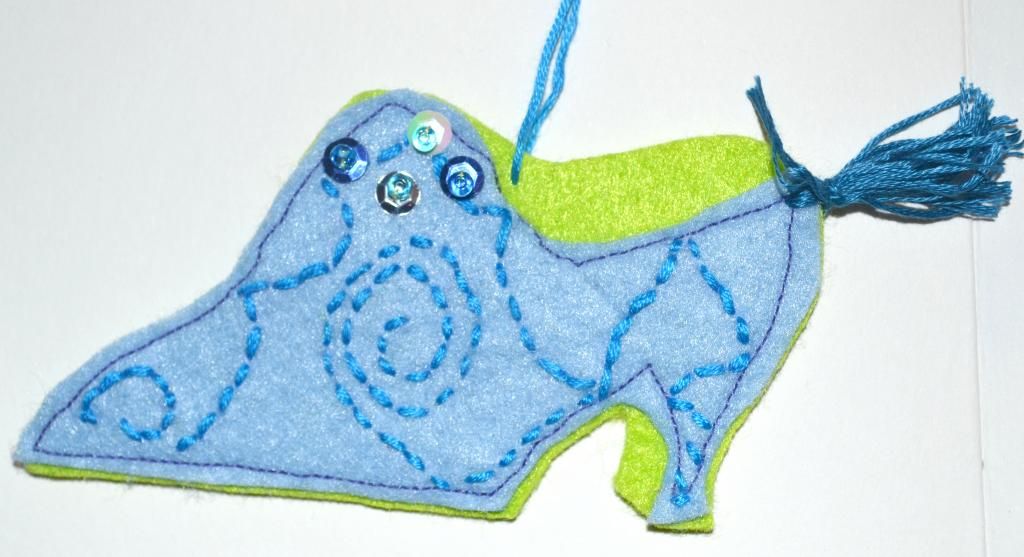
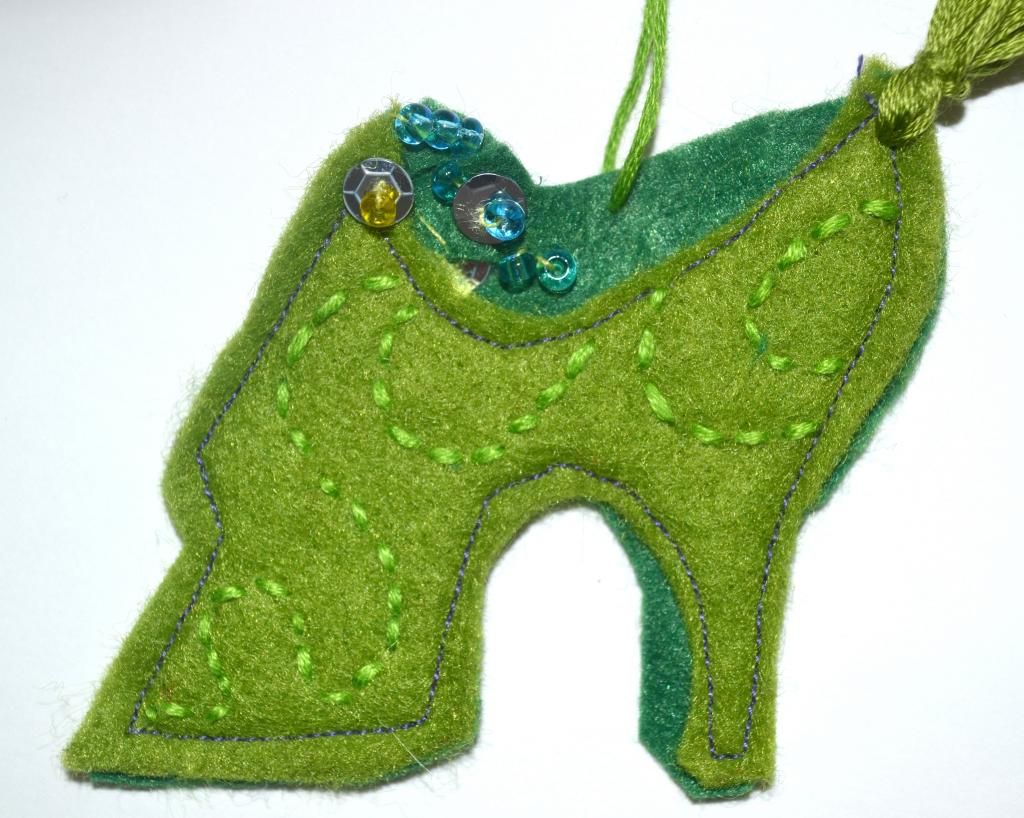
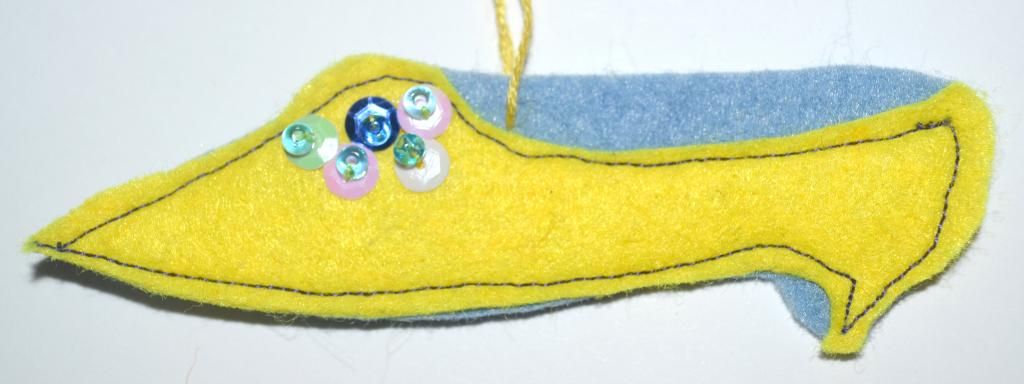
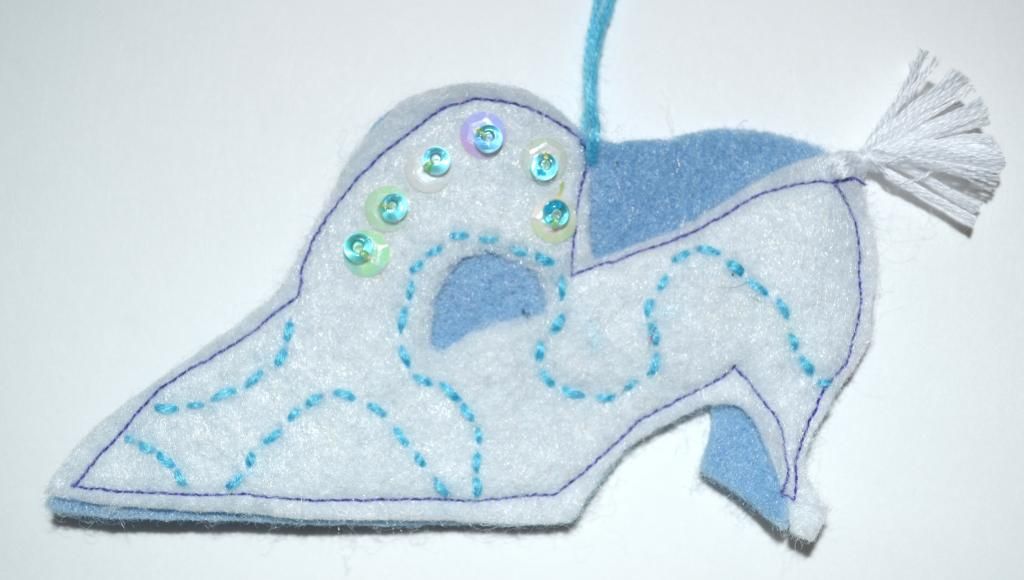
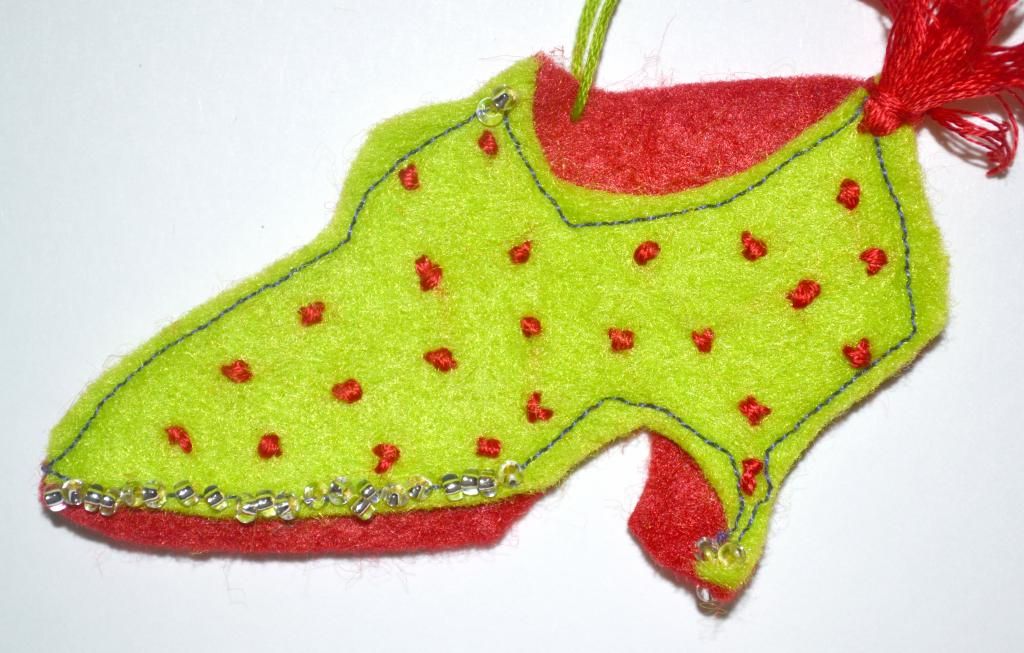
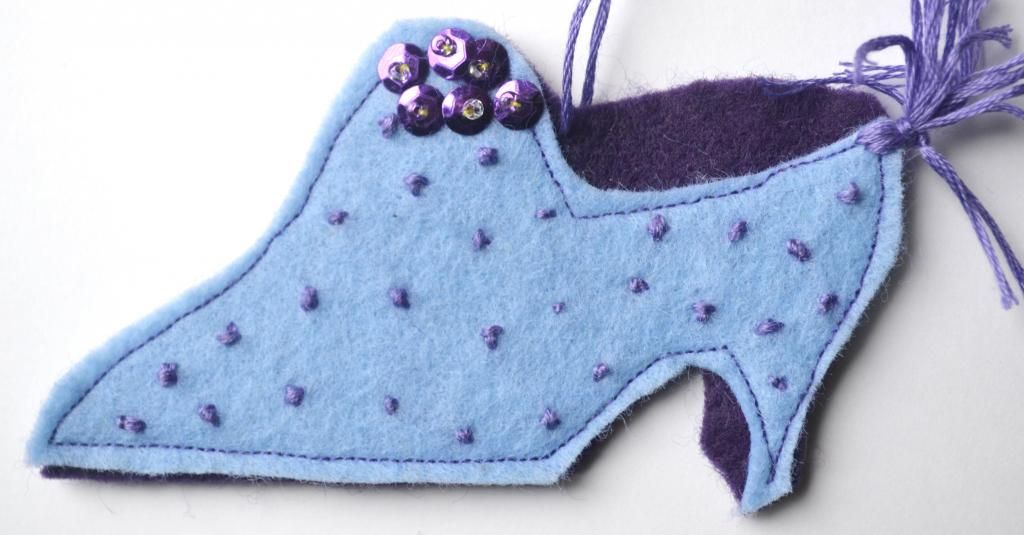
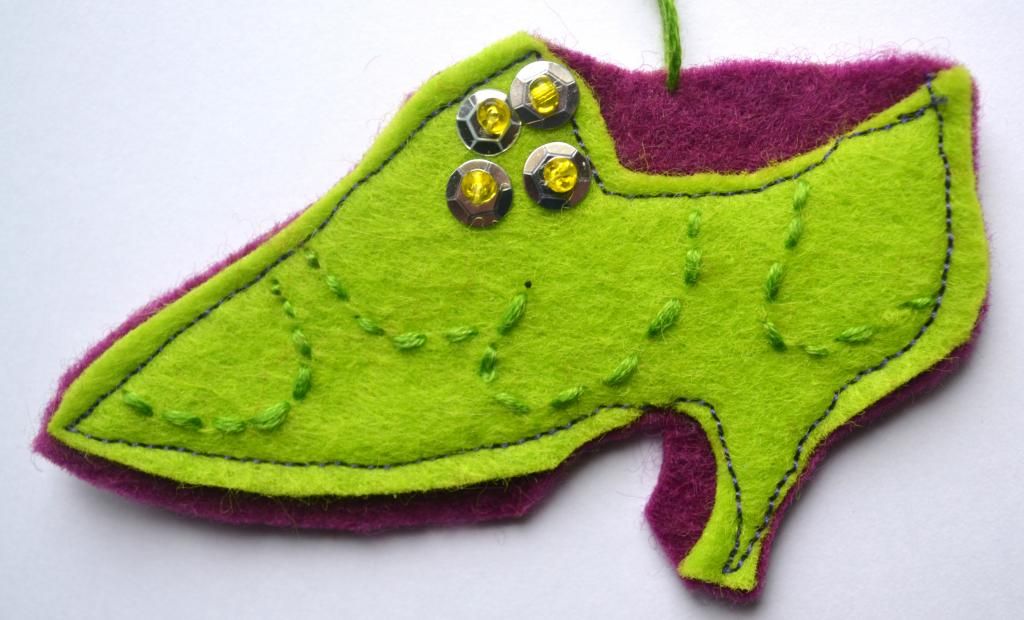
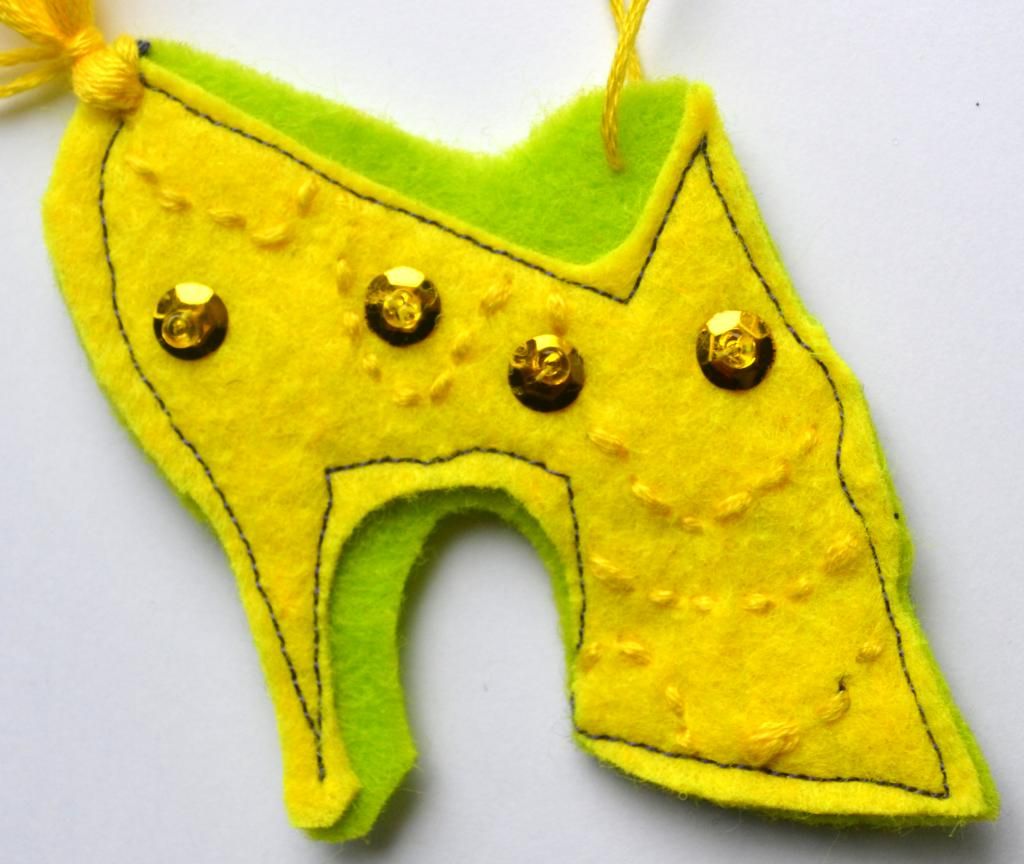
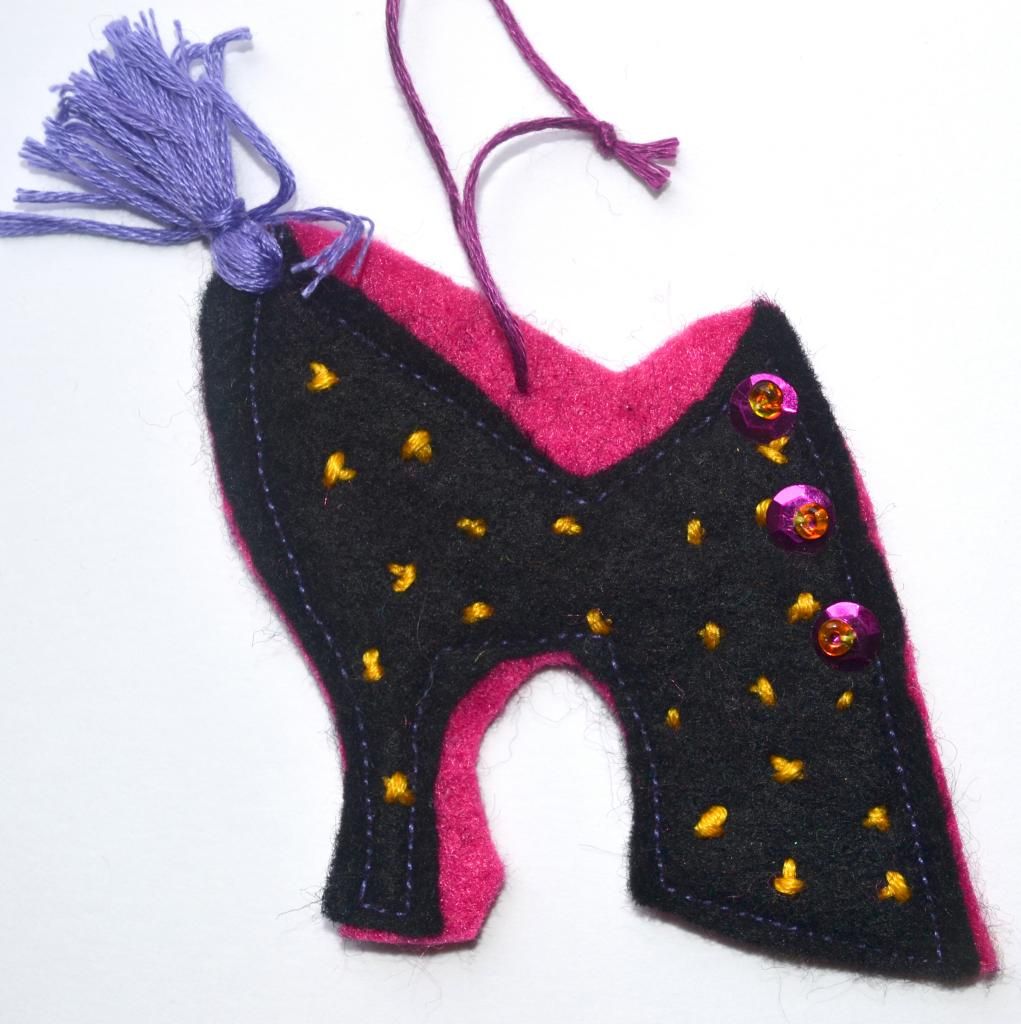
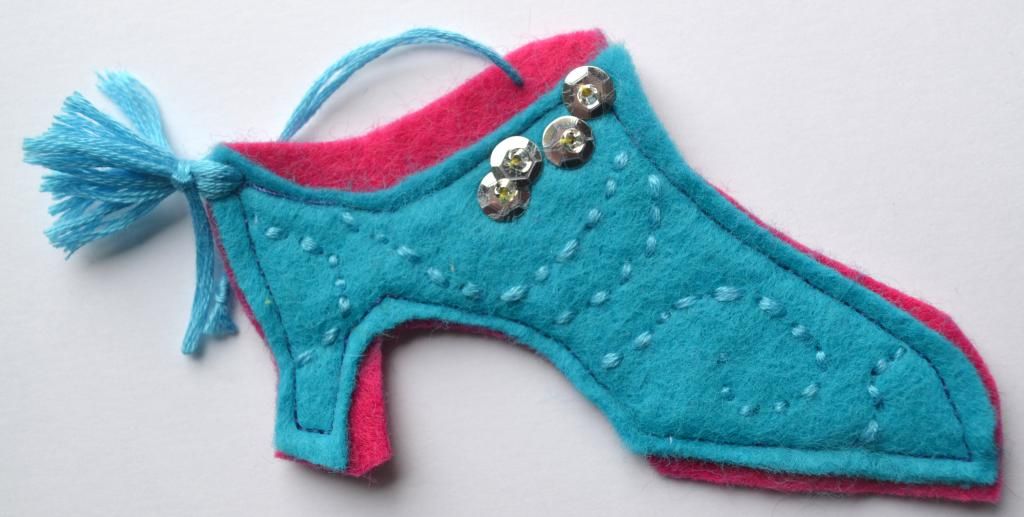
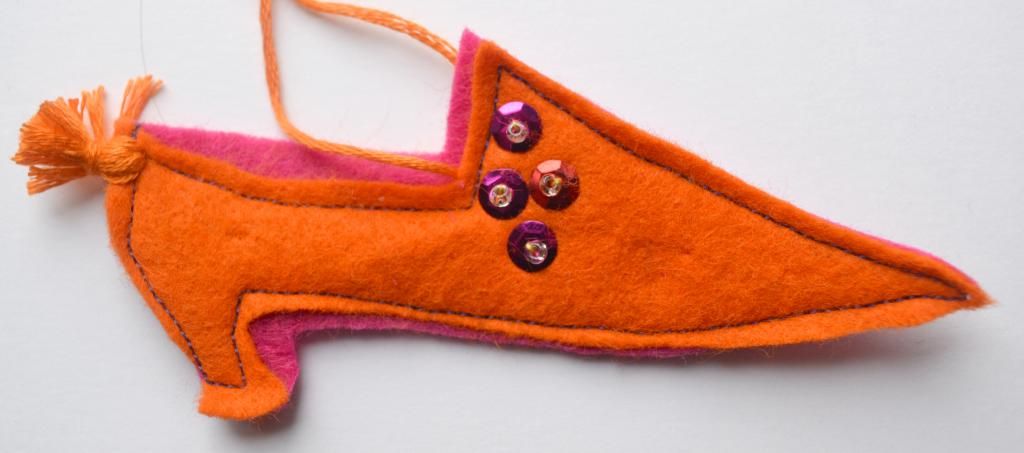
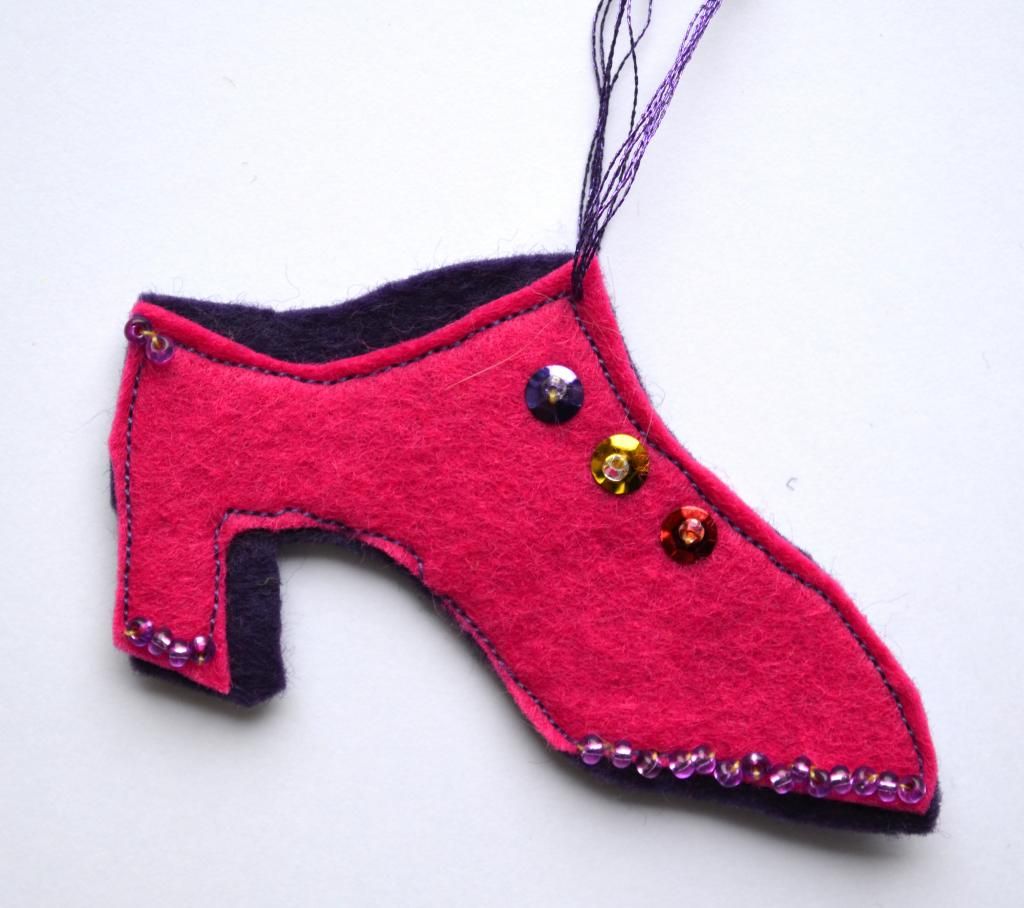
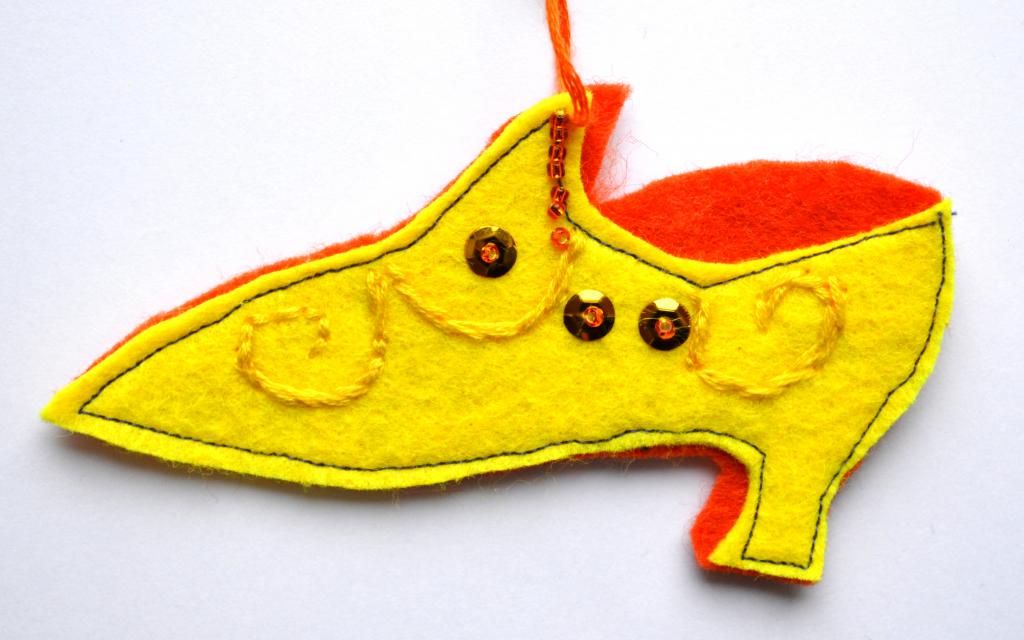
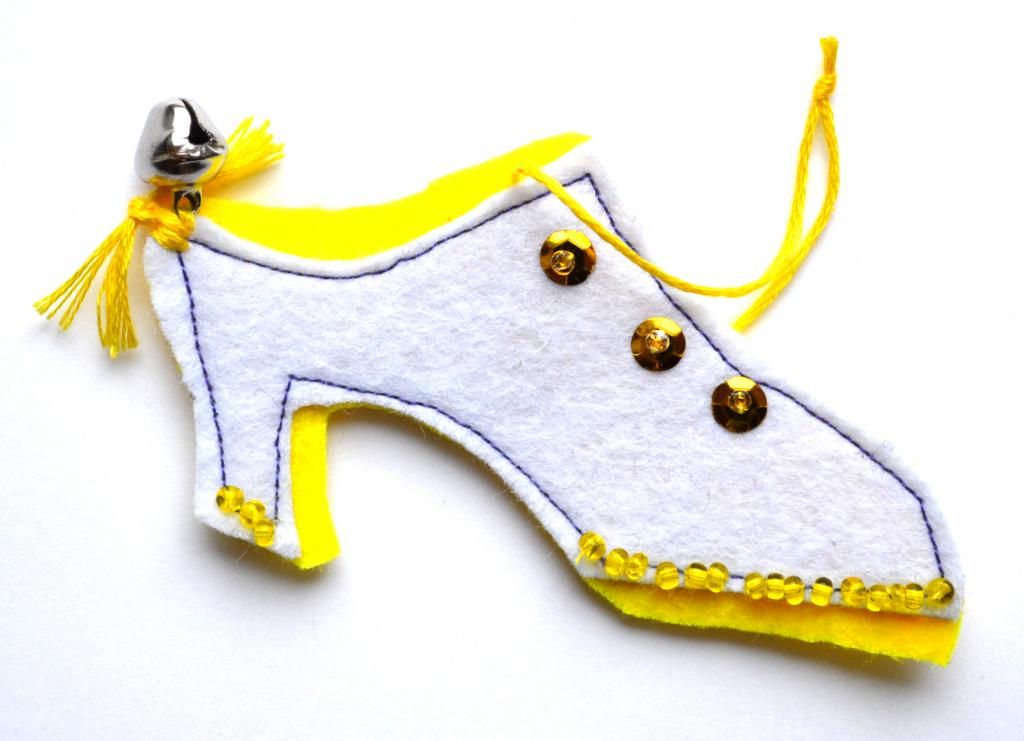
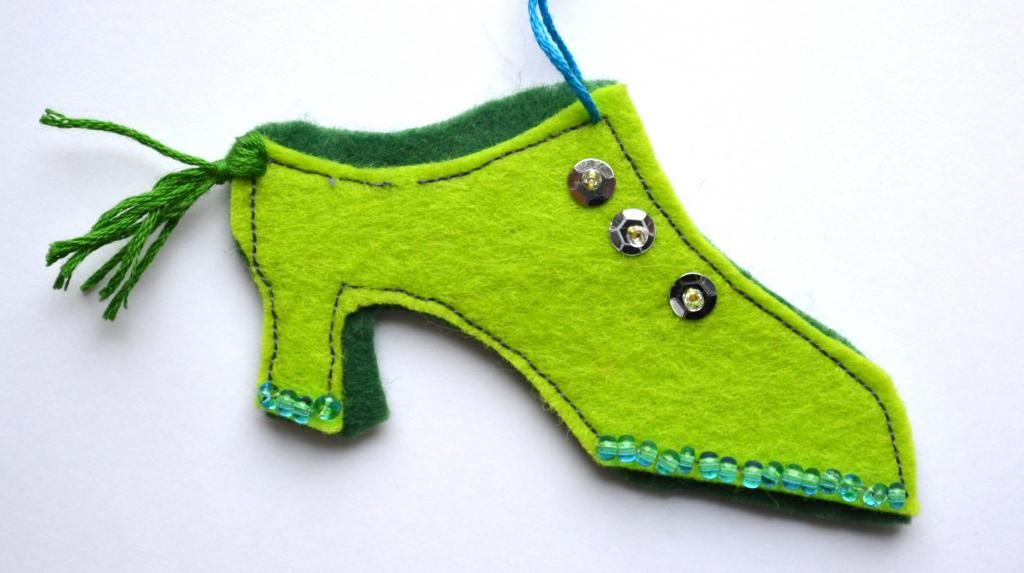
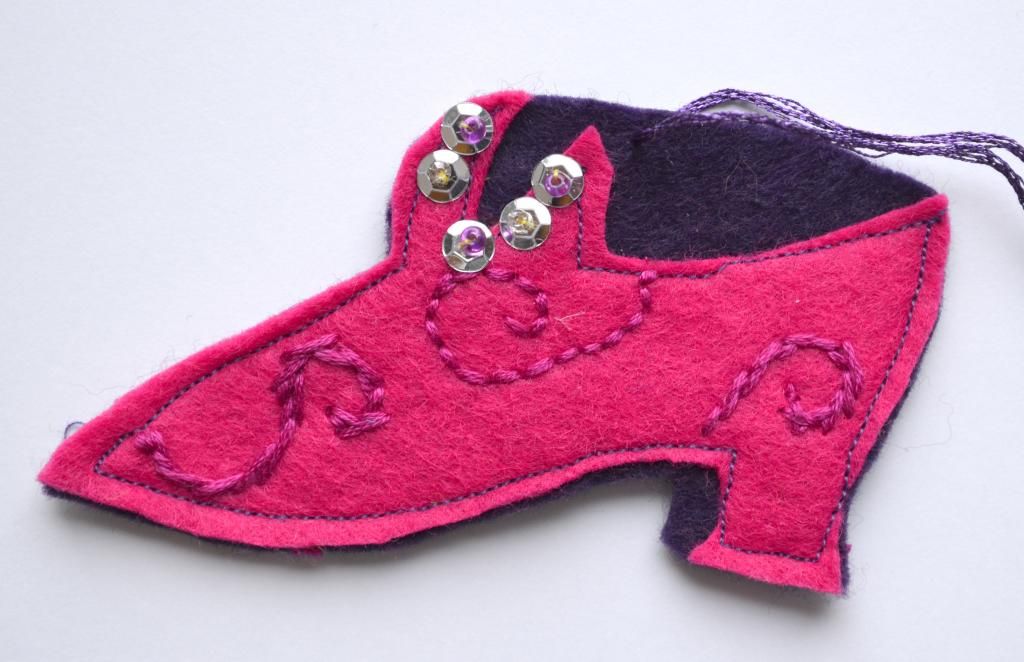
| Yesterday, I started making some shoe decorations...I used two different colours, the darker colour goes at the back to create depth. |
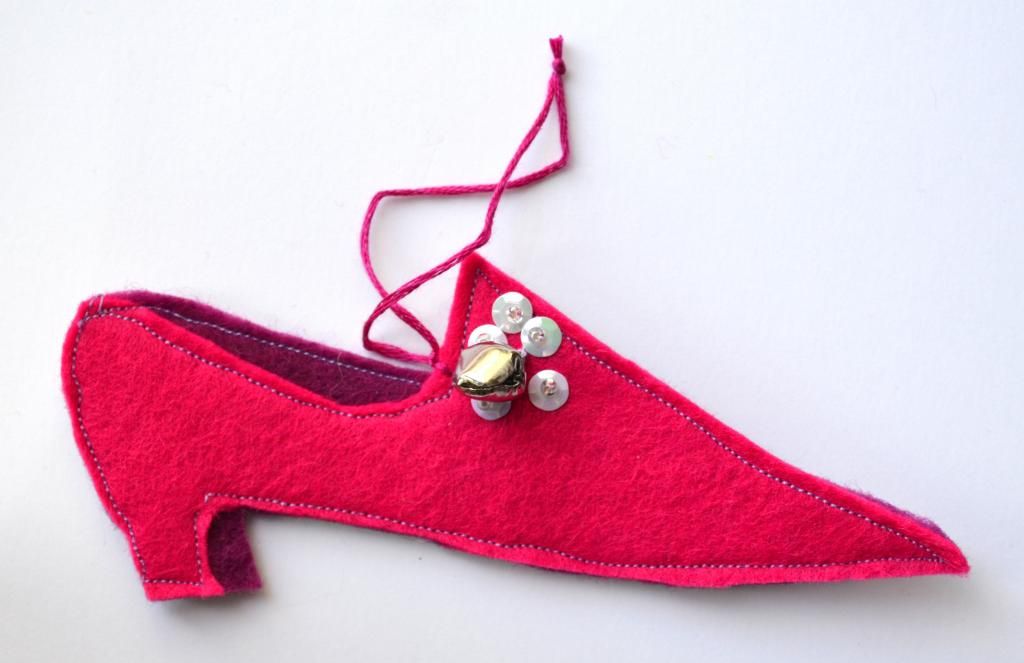 |
| This time, I got out the sewing machine, to save time. I didn't need to put padding inside, as the felt was already thick. |
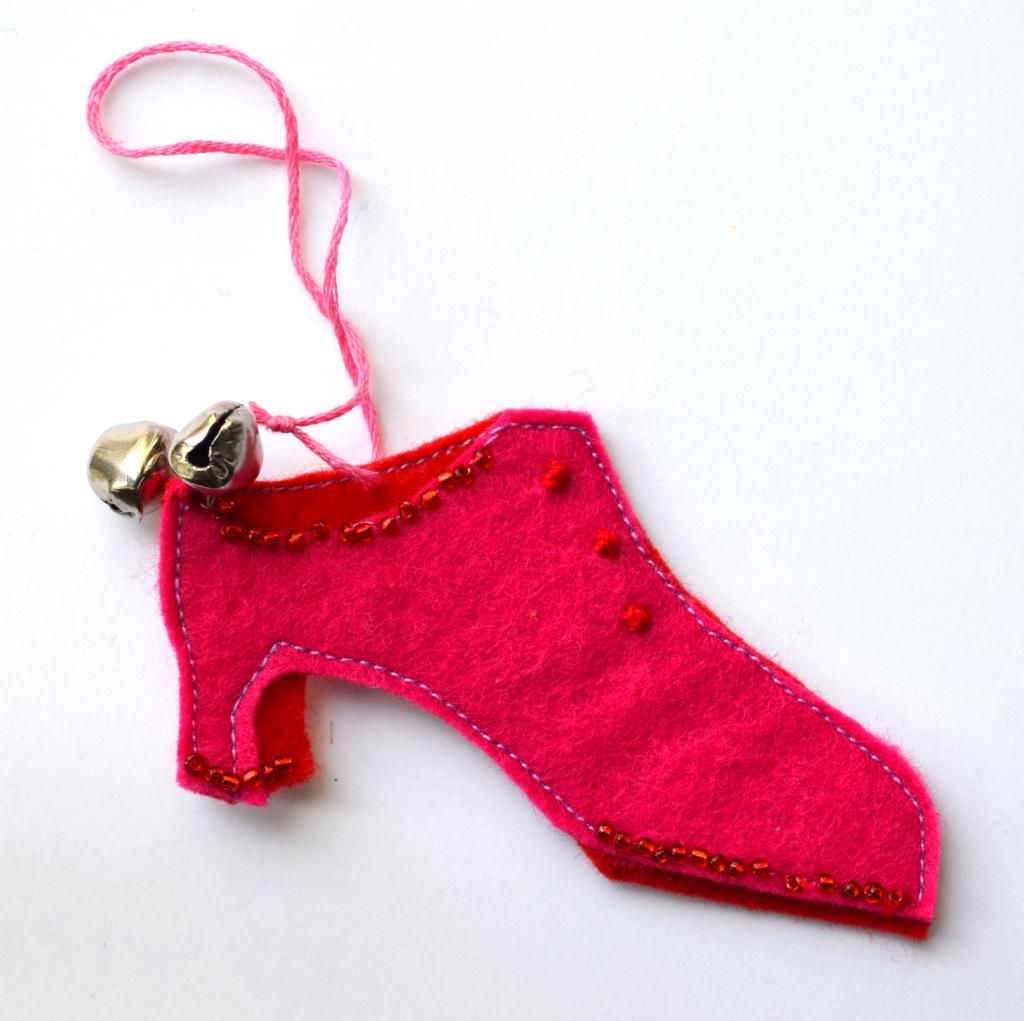 |
| The embroidery and sequins were put on first. I was inspired by images of vintage shoes. They are hand made, as you can see (they are not perfect)... they were made with love. |
Subscribe to:
Posts (Atom)