 |
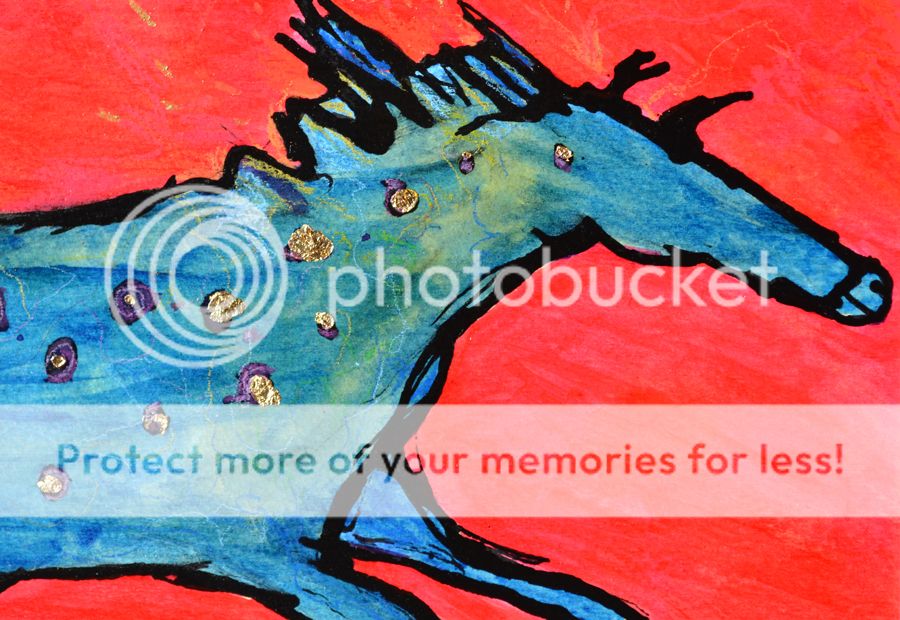
| Horse 23, 18 x 13 cm. |
 |
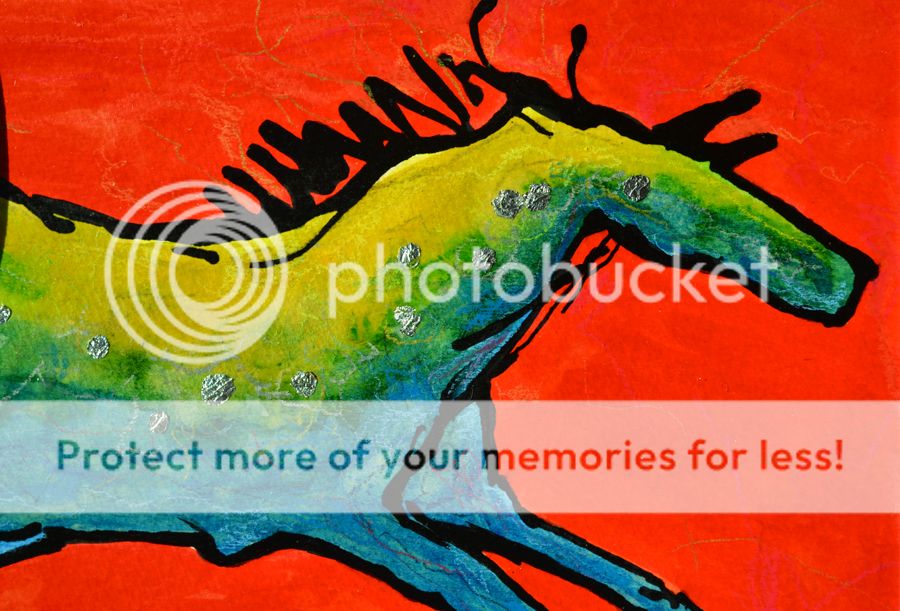
| Horse 24, 18 x 13 cm. |
 |
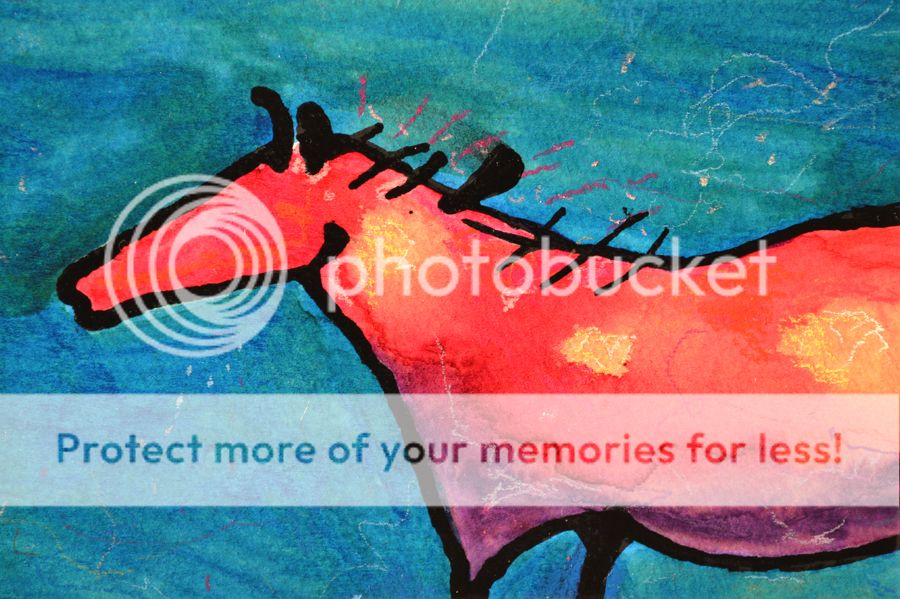
| Horse 25, 15 x 10 cm. |
 |
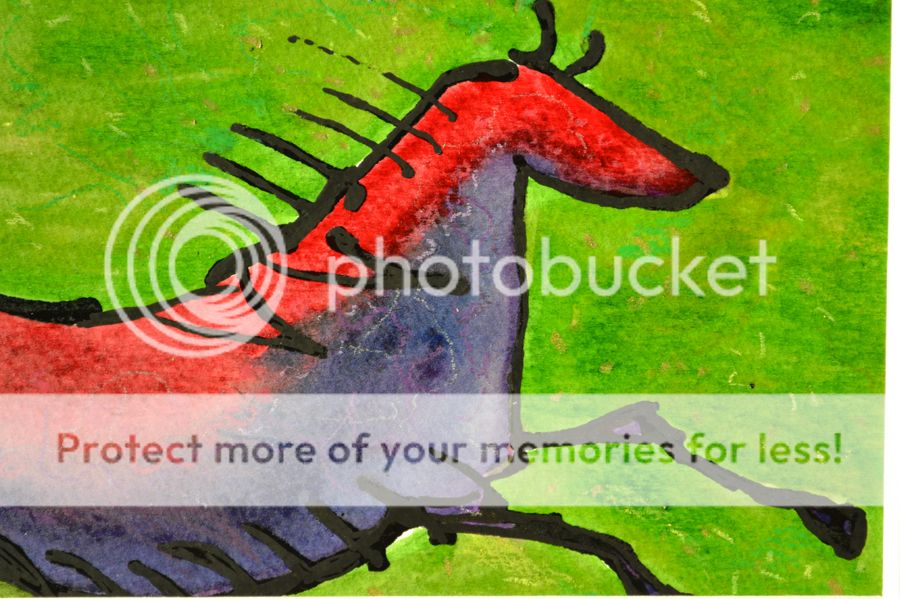
| Horse 26, 15 x 10 cm. |
These ones are now in the ETSY shop, click here to start shopping.
 |
| Horse 23, 18 x 13 cm. |
 |
| Horse 24, 18 x 13 cm. |
 |
| Horse 25, 15 x 10 cm. |
 |
| Horse 26, 15 x 10 cm. |
| Tea inspired art works. "Emptea", 18 x 13 cm, Black ink, collage, acrylic paint, Neo-colour II crayons and Posca pens. |
| "Tea 2", 13 x 18 cm, Black ink, acrylic paint, collage, Neo-colour II crayons and Posca pens. |
| "Tea 3", 18 x 13 cm, Black ink, acrylic paint, collage, Neo-colour II crayons and Posca pens. |
| You will need some lino and carving tools. These days the lino is soft like butter to cut, not like 20 years ago. When you had to put lino on the heater to soften. |
| This year, I drew up a Christmas Cat. The size is 10 x 14 cm. |
| This is a 'Christmas Pudding', that I made a few years ago. You will need to cut about 50% of the lino out. Dust of the scraps and now get ready to print. |
| This is not a traditional set up, I use a 'cheap' sponge roller, gold acrylic paint, black paper and a spoon. |
| Lift the paper carefully and "voilà"! You have a print. |
| It's important to have a bit of fun too! |
| The two boys worked great together... |
| My two assistants did a fabulous job! |
| I'm not sure if I like my cat, but you can see how it works. |
| Simple designs come out better... |
| After the print is dry, you can trim the lino print with scissors or metal ruler, cutting knife and mat. |
| At this stage you will need a needle, split pins, cards, and envelopes. |
| Line up the lino print on the card, and make holes with the needle. Put a split pin in as you go...sometimes the prints move. |
| You can also use, double side tape... |
| Here they are finished, You can add your own text, or decorate it any way you want. I used a red 'Posca' pen. |
| Yesterday, I started making some shoe decorations...I used two different colours, the darker colour goes at the back to create depth. |
| This time, I got out the sewing machine, to save time. I didn't need to put padding inside, as the felt was already thick. |
| The embroidery and sequins were put on first. I was inspired by images of vintage shoes. They are hand made, as you can see (they are not perfect)... they were made with love. |
| This time we are sewing these...they only take 10 minutes to make. |
| The other day, while waiting at the dentist, I found this design for a Reindeer, in a magazine. I sketched it in my diary and then drew it larger on some white paper, when I got home. |
| You will need all of these...to make the reindeer. |
| Pin the cut-out paper Reindeer on to the brown felt (2 layers), and cut out 2, pin them together... |
| Select some coloured embroidery thread (I didn't have brown, so I used green), and thread up your needle. It's time to start sewing... |
| Start sewing, start from his belly...use "Running stitch" - - - - - - - it's simple and easy. |
| Sew all around, leaving an opening under neath. Then stuff small bits of cotton wool inside. A small paint brush will help you, to push the cotton inside, into his antlers. |
| Finish the sewing. |
| Use a small bit of green felt and a bell, to make a collar for the Reindeer. |
| Sew red embroidery thread, for his nose and for a loop on top. Now he's ready to hang on the tree... |
| Here he is on the tree, the boys love him, and even the cat loves him... |
| Last year I made angels... (in all different colours), |
| and stars, the boys even helped. |